By Lois Spangler |
Intro
If you’re like me, then most HEMA apparel is not made to fit you off the rack. You can custom order garments, which can be risky if you’re on a different continent from the people making your armor and you find you need some adjustments, and is also quite expensive.
Your other option is making stuff yourself.
Here’s the thing: I have never made a garment by myself. I hadn’t used a sewing machine until this project. And I had never worked with patterns or with planning a garment until this project. So to be completely honest, this is more of a process than creating and following an actual formula. The construction of the armored skirt is meant to be pretty forgiving, unless you’re particular about it looking meticulous.
Context
You can skip this section if you want to go straight to the instructions, but if you want to learn more about my thought processes regarding this skirt, read on!
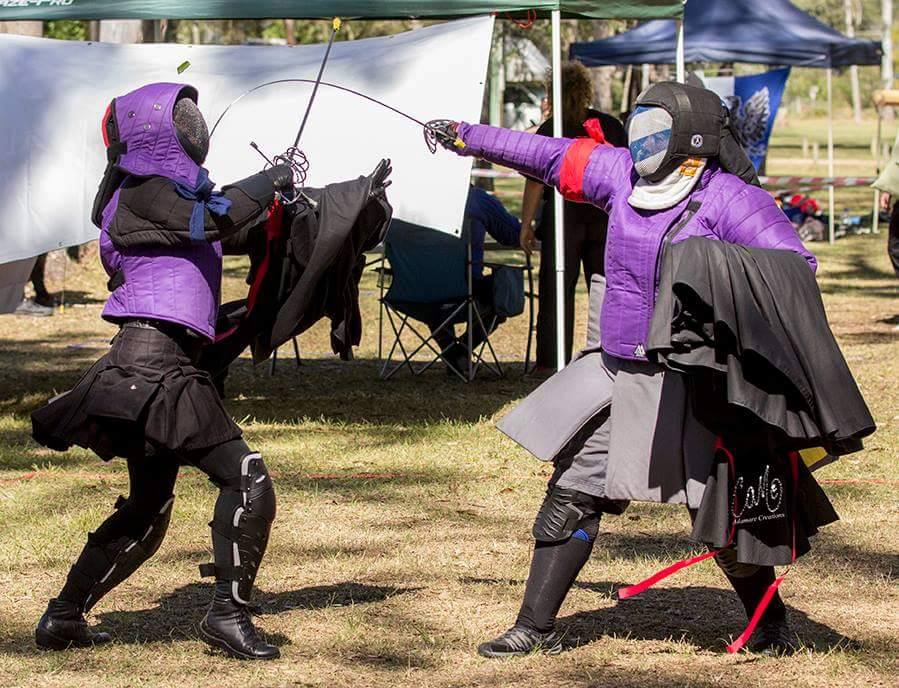
I’d seen the SPES armored skirt and wasn’t quite convinced. I know that it does its job reasonably well, but I was concerned about the lack of greater protection for the inner thigh (and, let’s be honest, he crotch area), and I know from experience at tournaments that the D-ring closure never stays fastened for any reasonable length of time. It consists of two large panels that meet in the front of the skirt and a smaller panel that sits behind the larger ones, situated in the gap between them. It can, for some, be a little heavy, since the panels are made of layers of fabric.
So I poked around for two historical styles of upper leg armor: the pteruges (the leather strip skirt used by Greeks and Romans), and the Japanese haidate (which sometimes has a small number of large panels, but later examples have more panels, like the one in the photo.

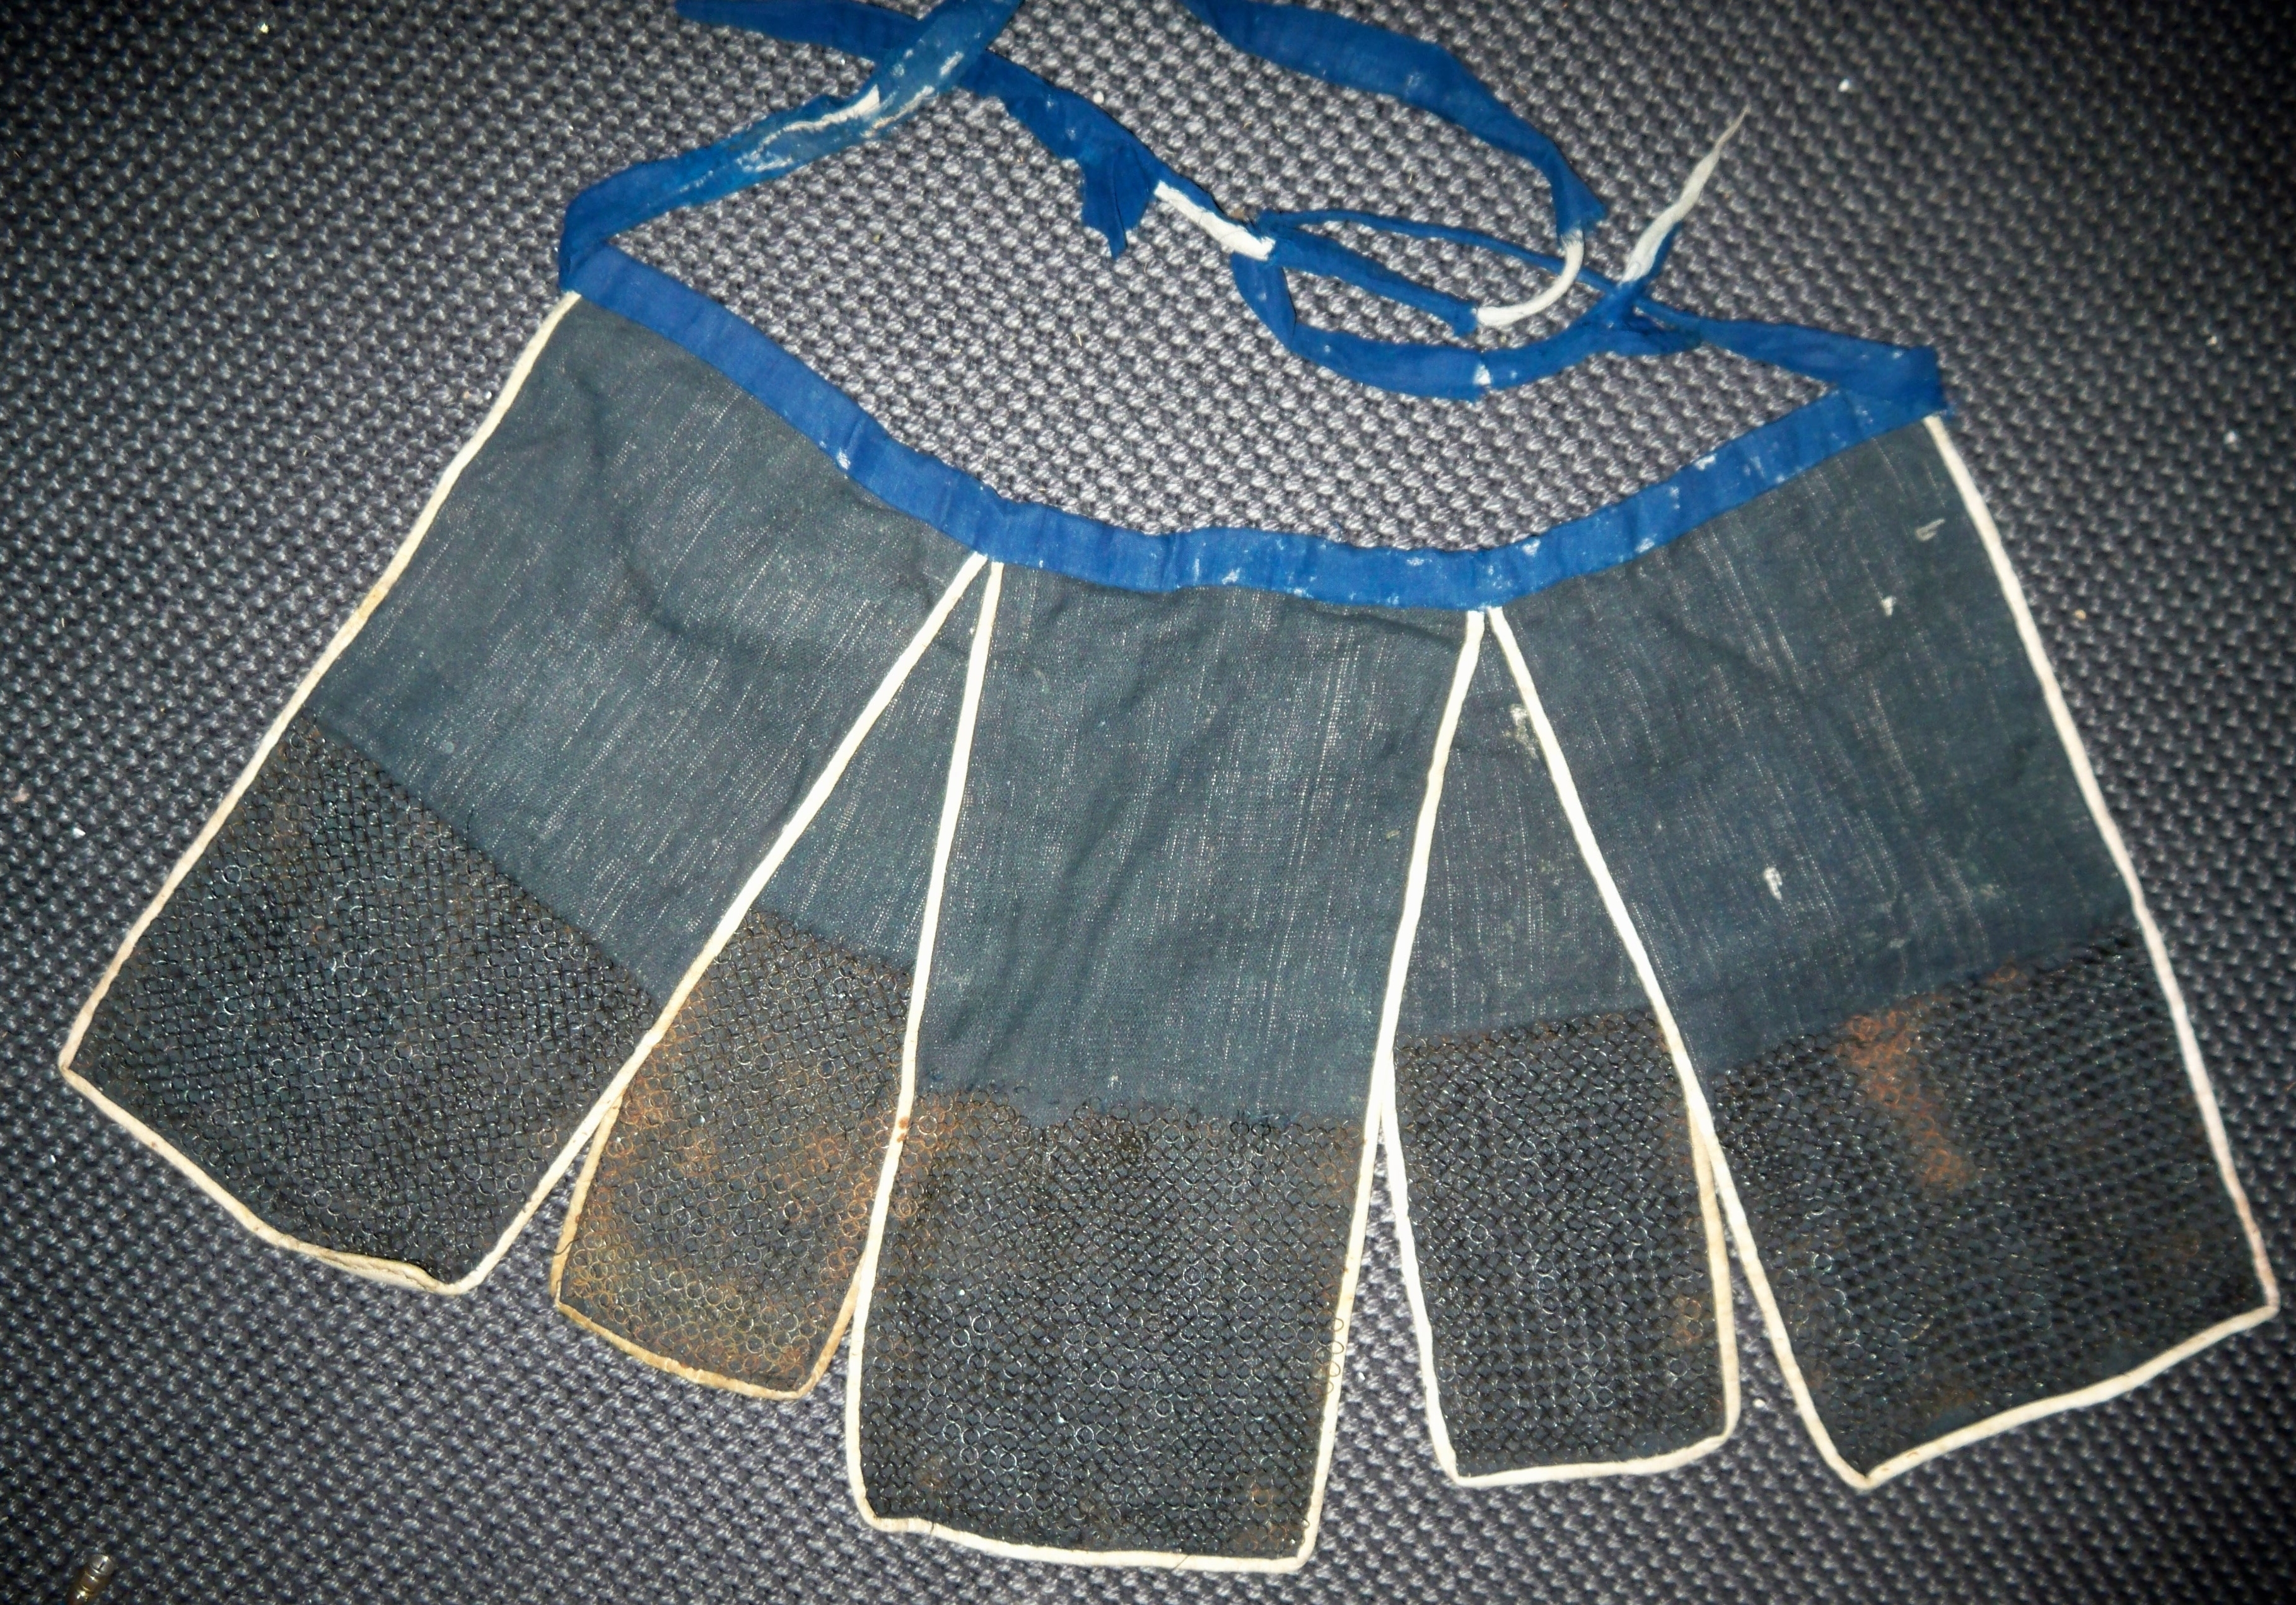
The pteruges didn’t cover enough, but I quite liked the look of the haidate in the above image. So I through about how I could make something similar to it that was relatively straightforward to construct and solved the problems of the SPES skirt: inconsistent coverage, problematic closure, weight, and potential size issues.
I decided I wanted fabric panels that overlapped each other significantly, addressing the coverage problem, but didn’t want to make the panels out of layers of fabric to help keep weight down. So I envisioned fabric pockets that could each hold a panel of rubber foam. These panels could then be sewn to a belt made to any required length, and the belt could be fastened using a plastic side release buckle on an adjustable strap, making sure the belt stayed secure through rigorous activity.
Construction
Personal measurements
These are the measurements you’ll need to make your belt:
- Waist or hip circumference (around where your skirts or trousers sit, or where your hips are widest; you can err about 5-7 cm on the side of shortness; the plastic clip and strap will cover the distance)
- Distance from top of waist to where you want your skirt to end (I picked just above the knee)
Required materials
This is what you’ll need to make one belt:
- Cotton duck or canvas fabric (I needed 3m at 125cm wide)
- Several spools of strong polyester thread (I probably went through 100m of thread. Honest.)
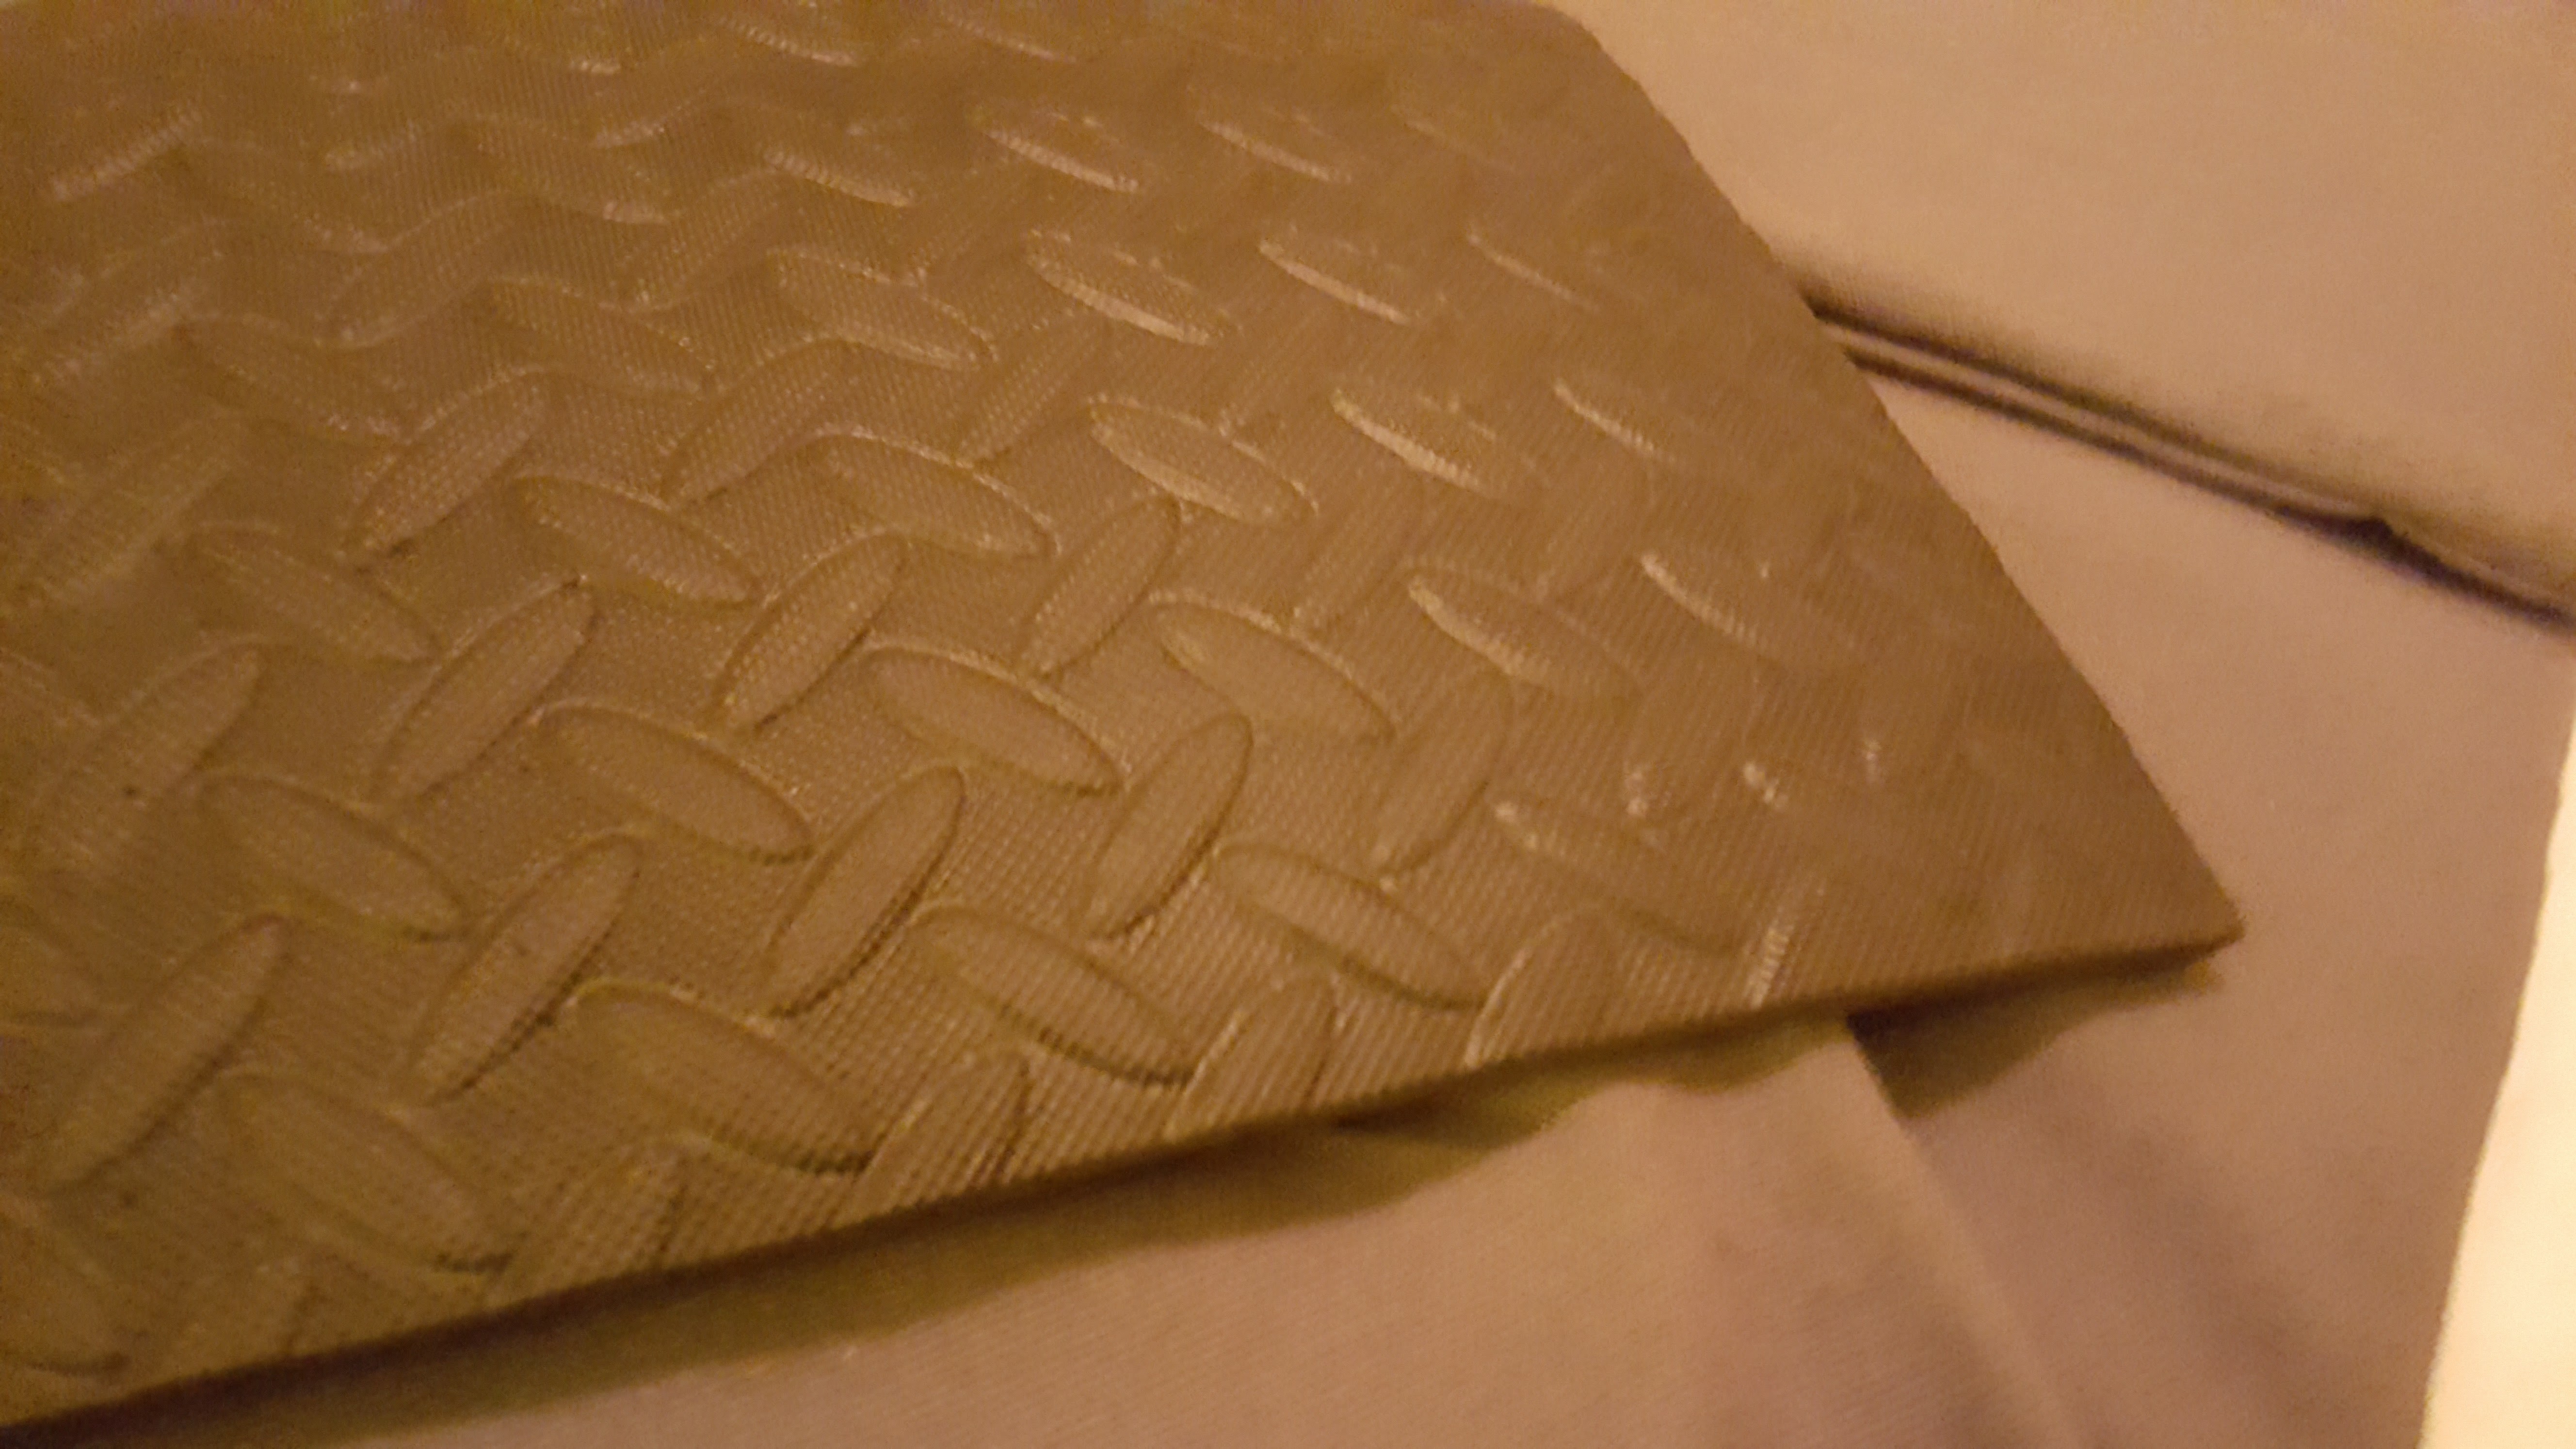
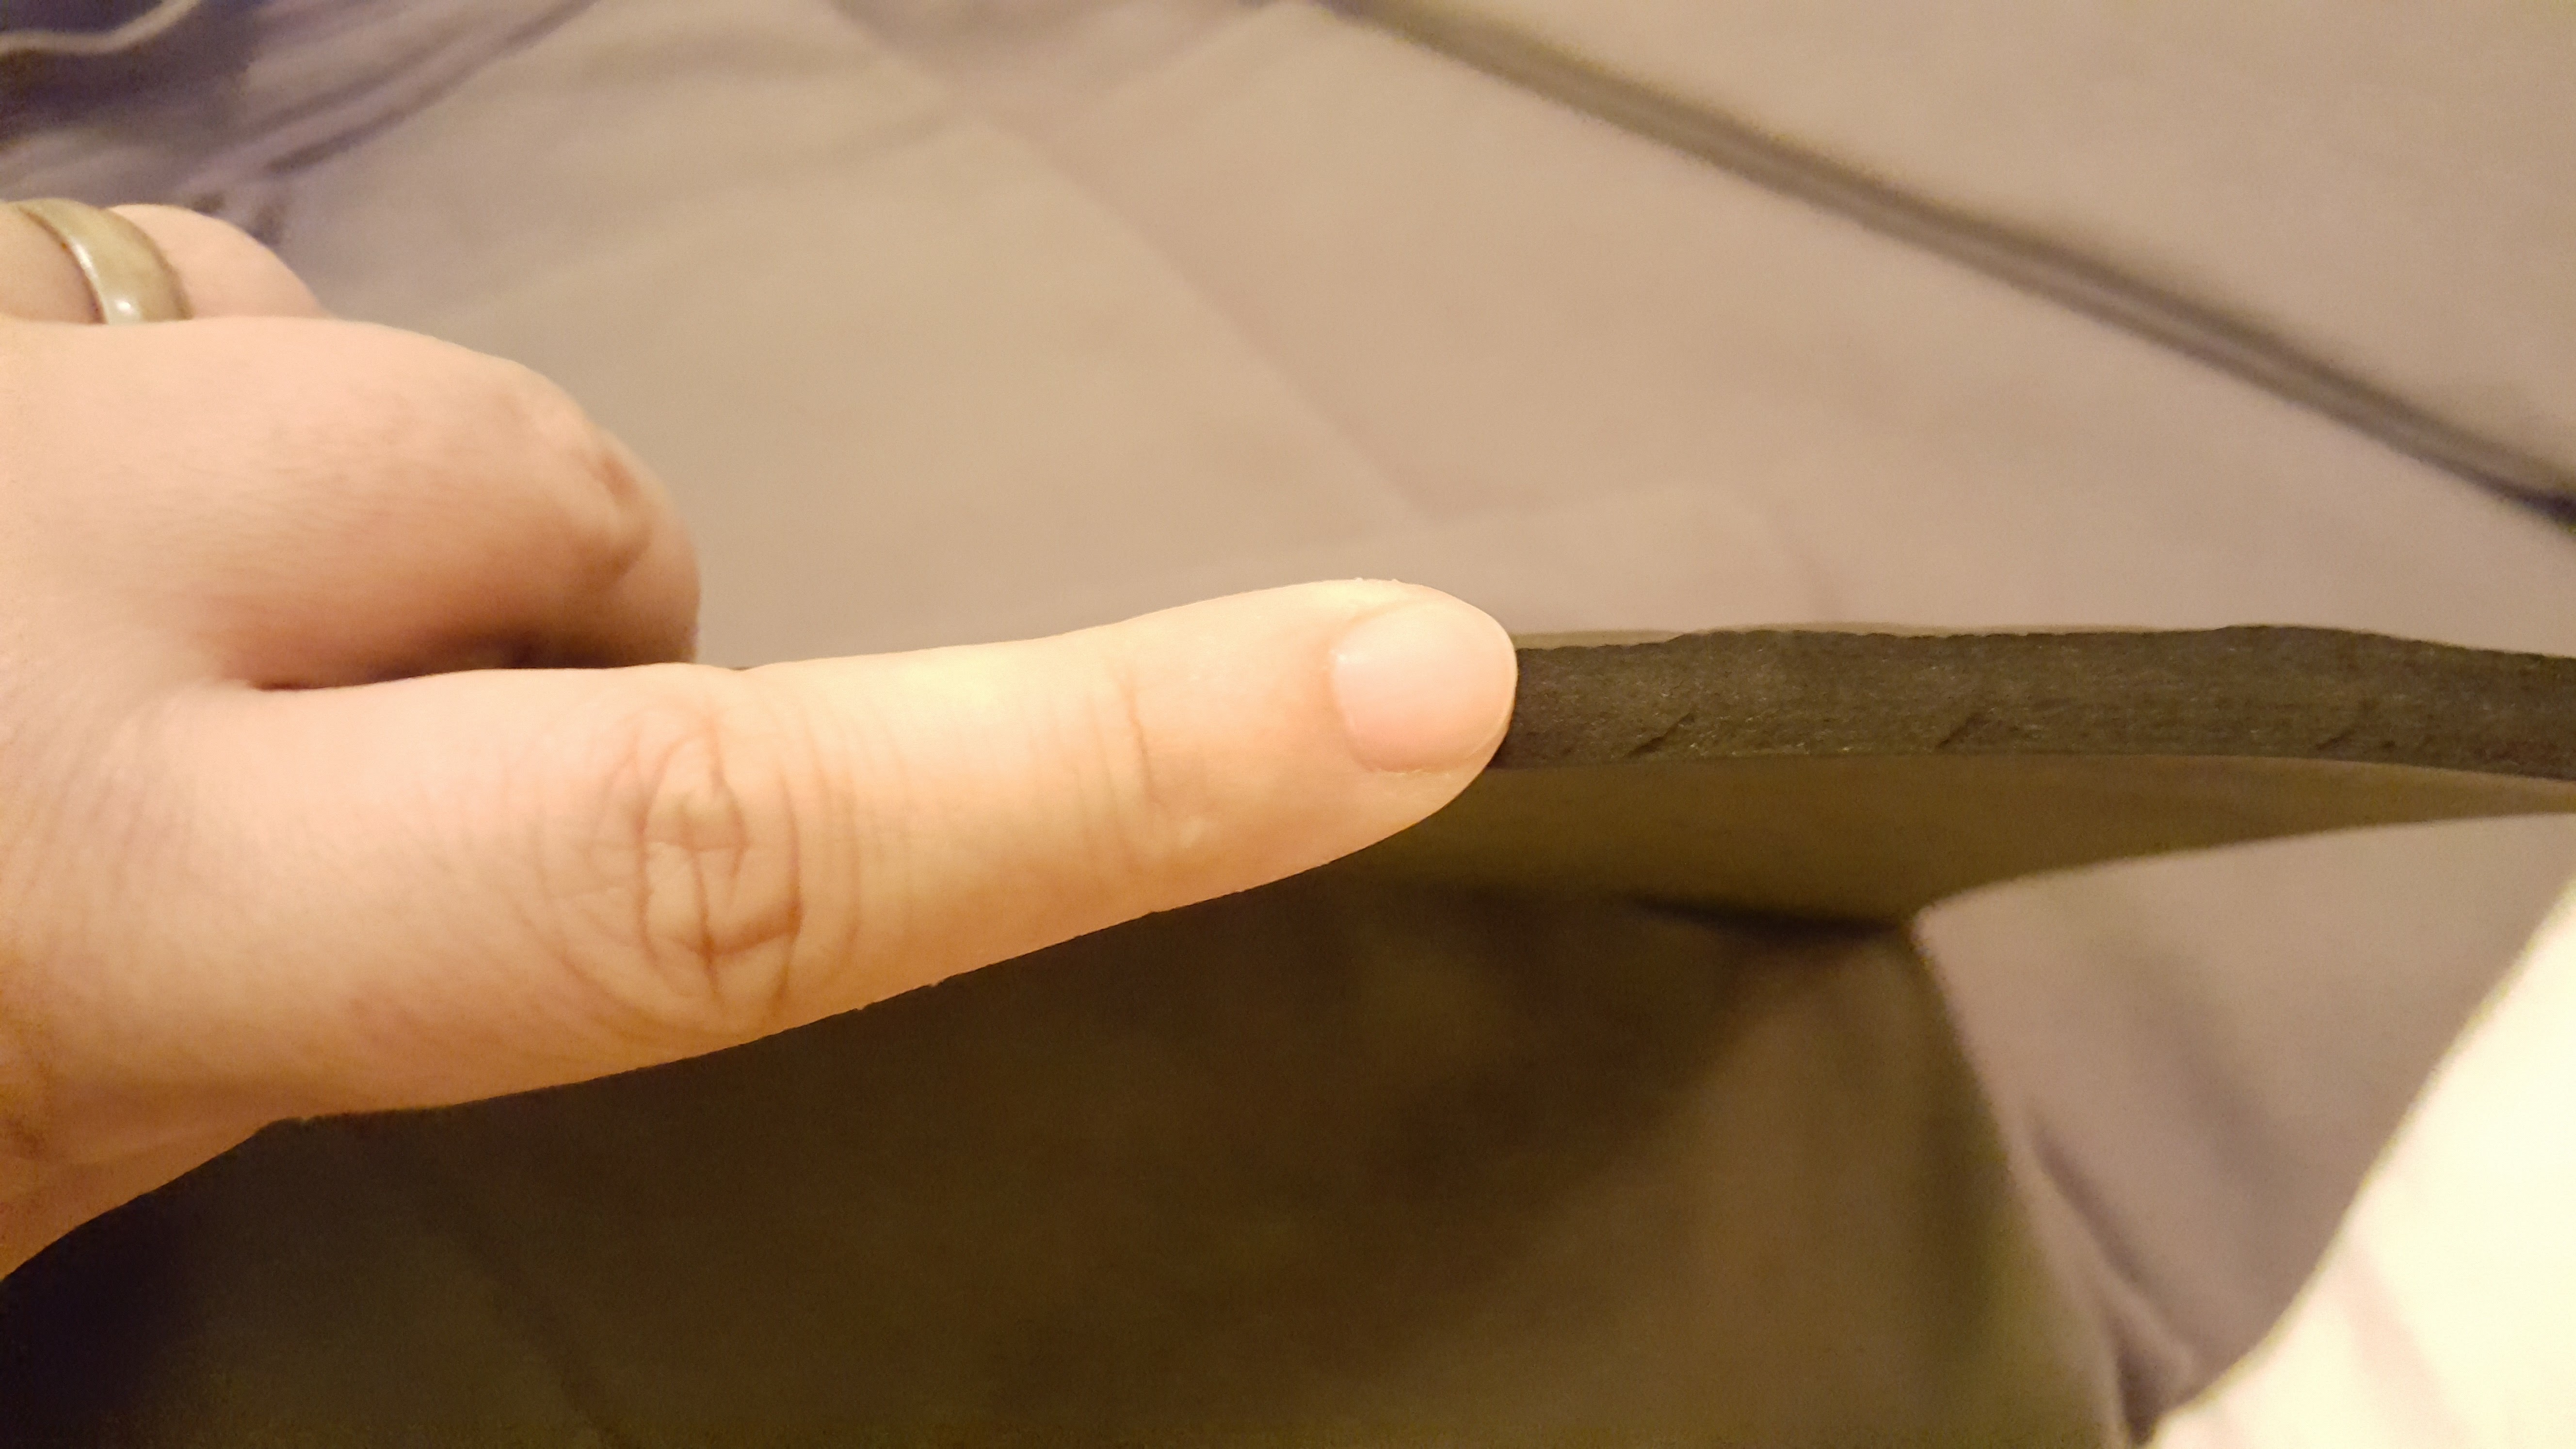
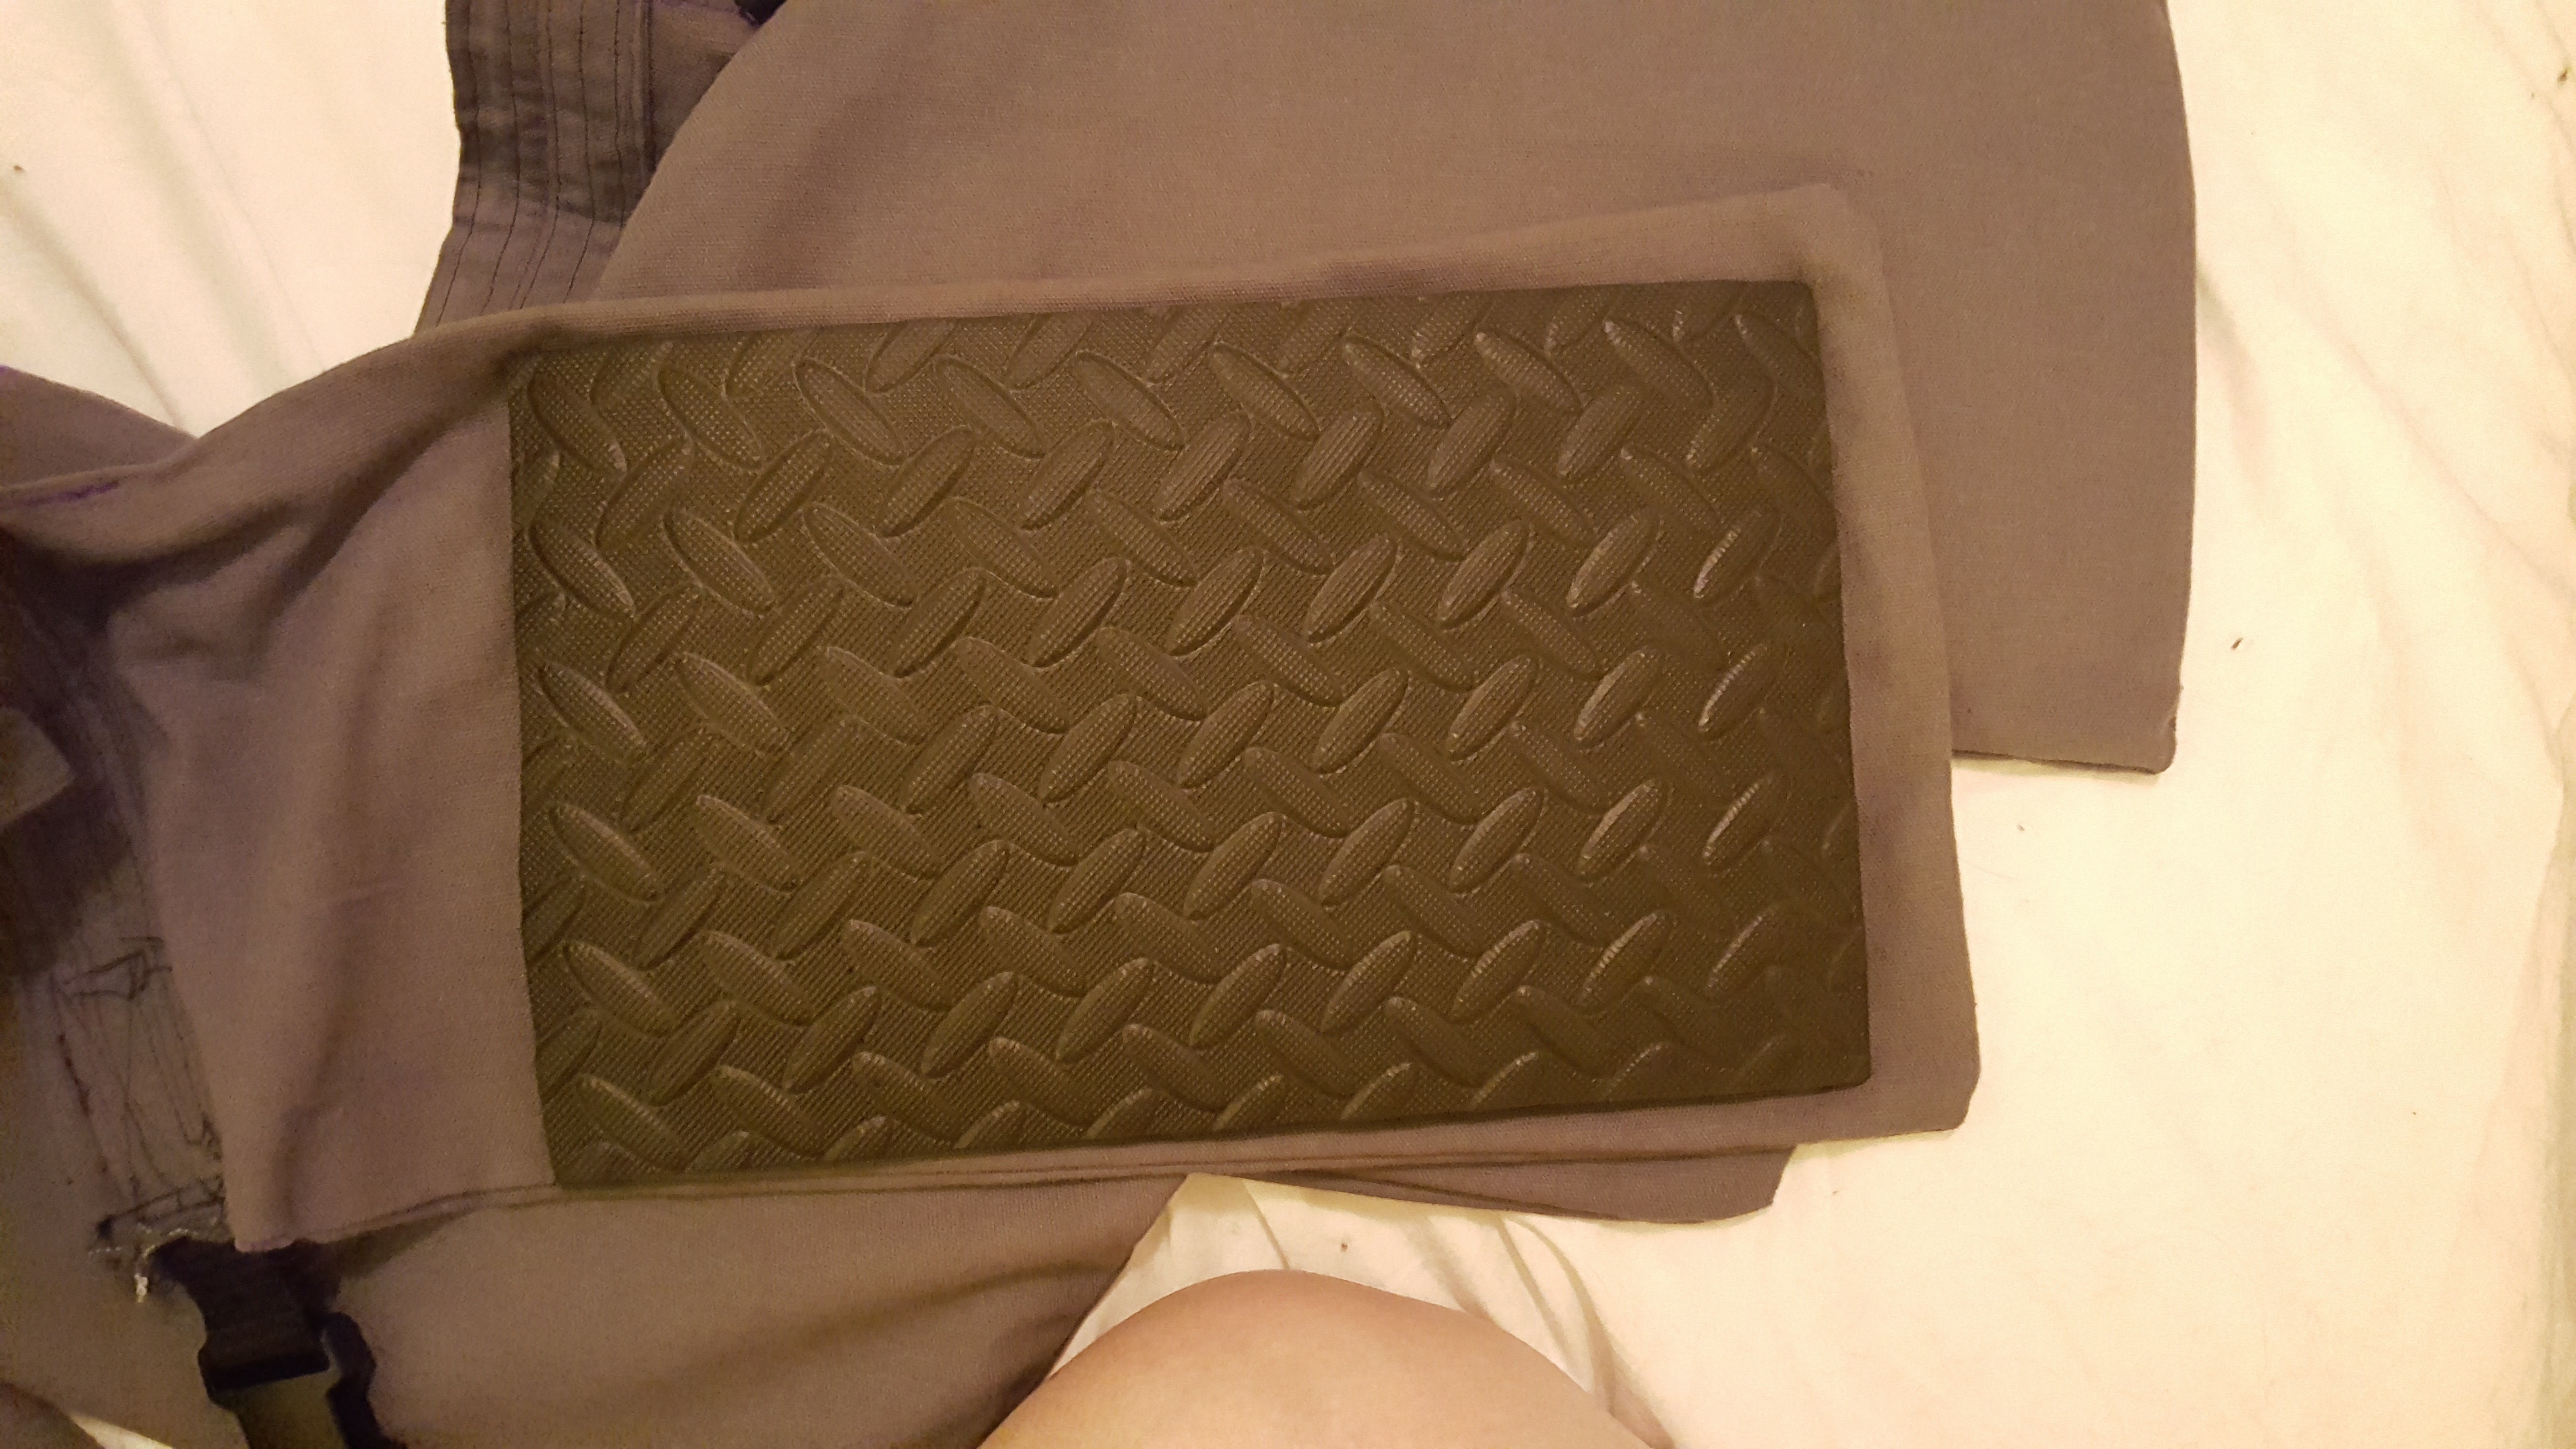
- Rubber foam mat (if you’re using yoga mats, use stiff ones, and you’ll may need more than one; I used a $40 AUS workshop floor mat that comes in around 0.75 cm thick, and measures 1.2 m x 2.4 m and will easily have enough to make another whole skirt and a pair of vambraces from the leftovers).
- Plastic side-release buckle
- Nylon strap of matching size to the buckle (mine was 250 mm)
- A sewing machine robust enough to sew through 4-6 layers of thick fabric (this is easier to find that it might seem)
Overview
The skirt is made in six steps: the belt, the panels, attaching the panels to each other, attaching the panels to the belt, attaching the plastic buckle, and then cutting and placing the rubber mat into the panels. I go through the process in this order, but I advise reading the entire construction section at least once before proceeding. This order made sense to me, but it might not be the same for other folks. And there’s no wrong way to do things if you end up with a piece of equipment that serves you!
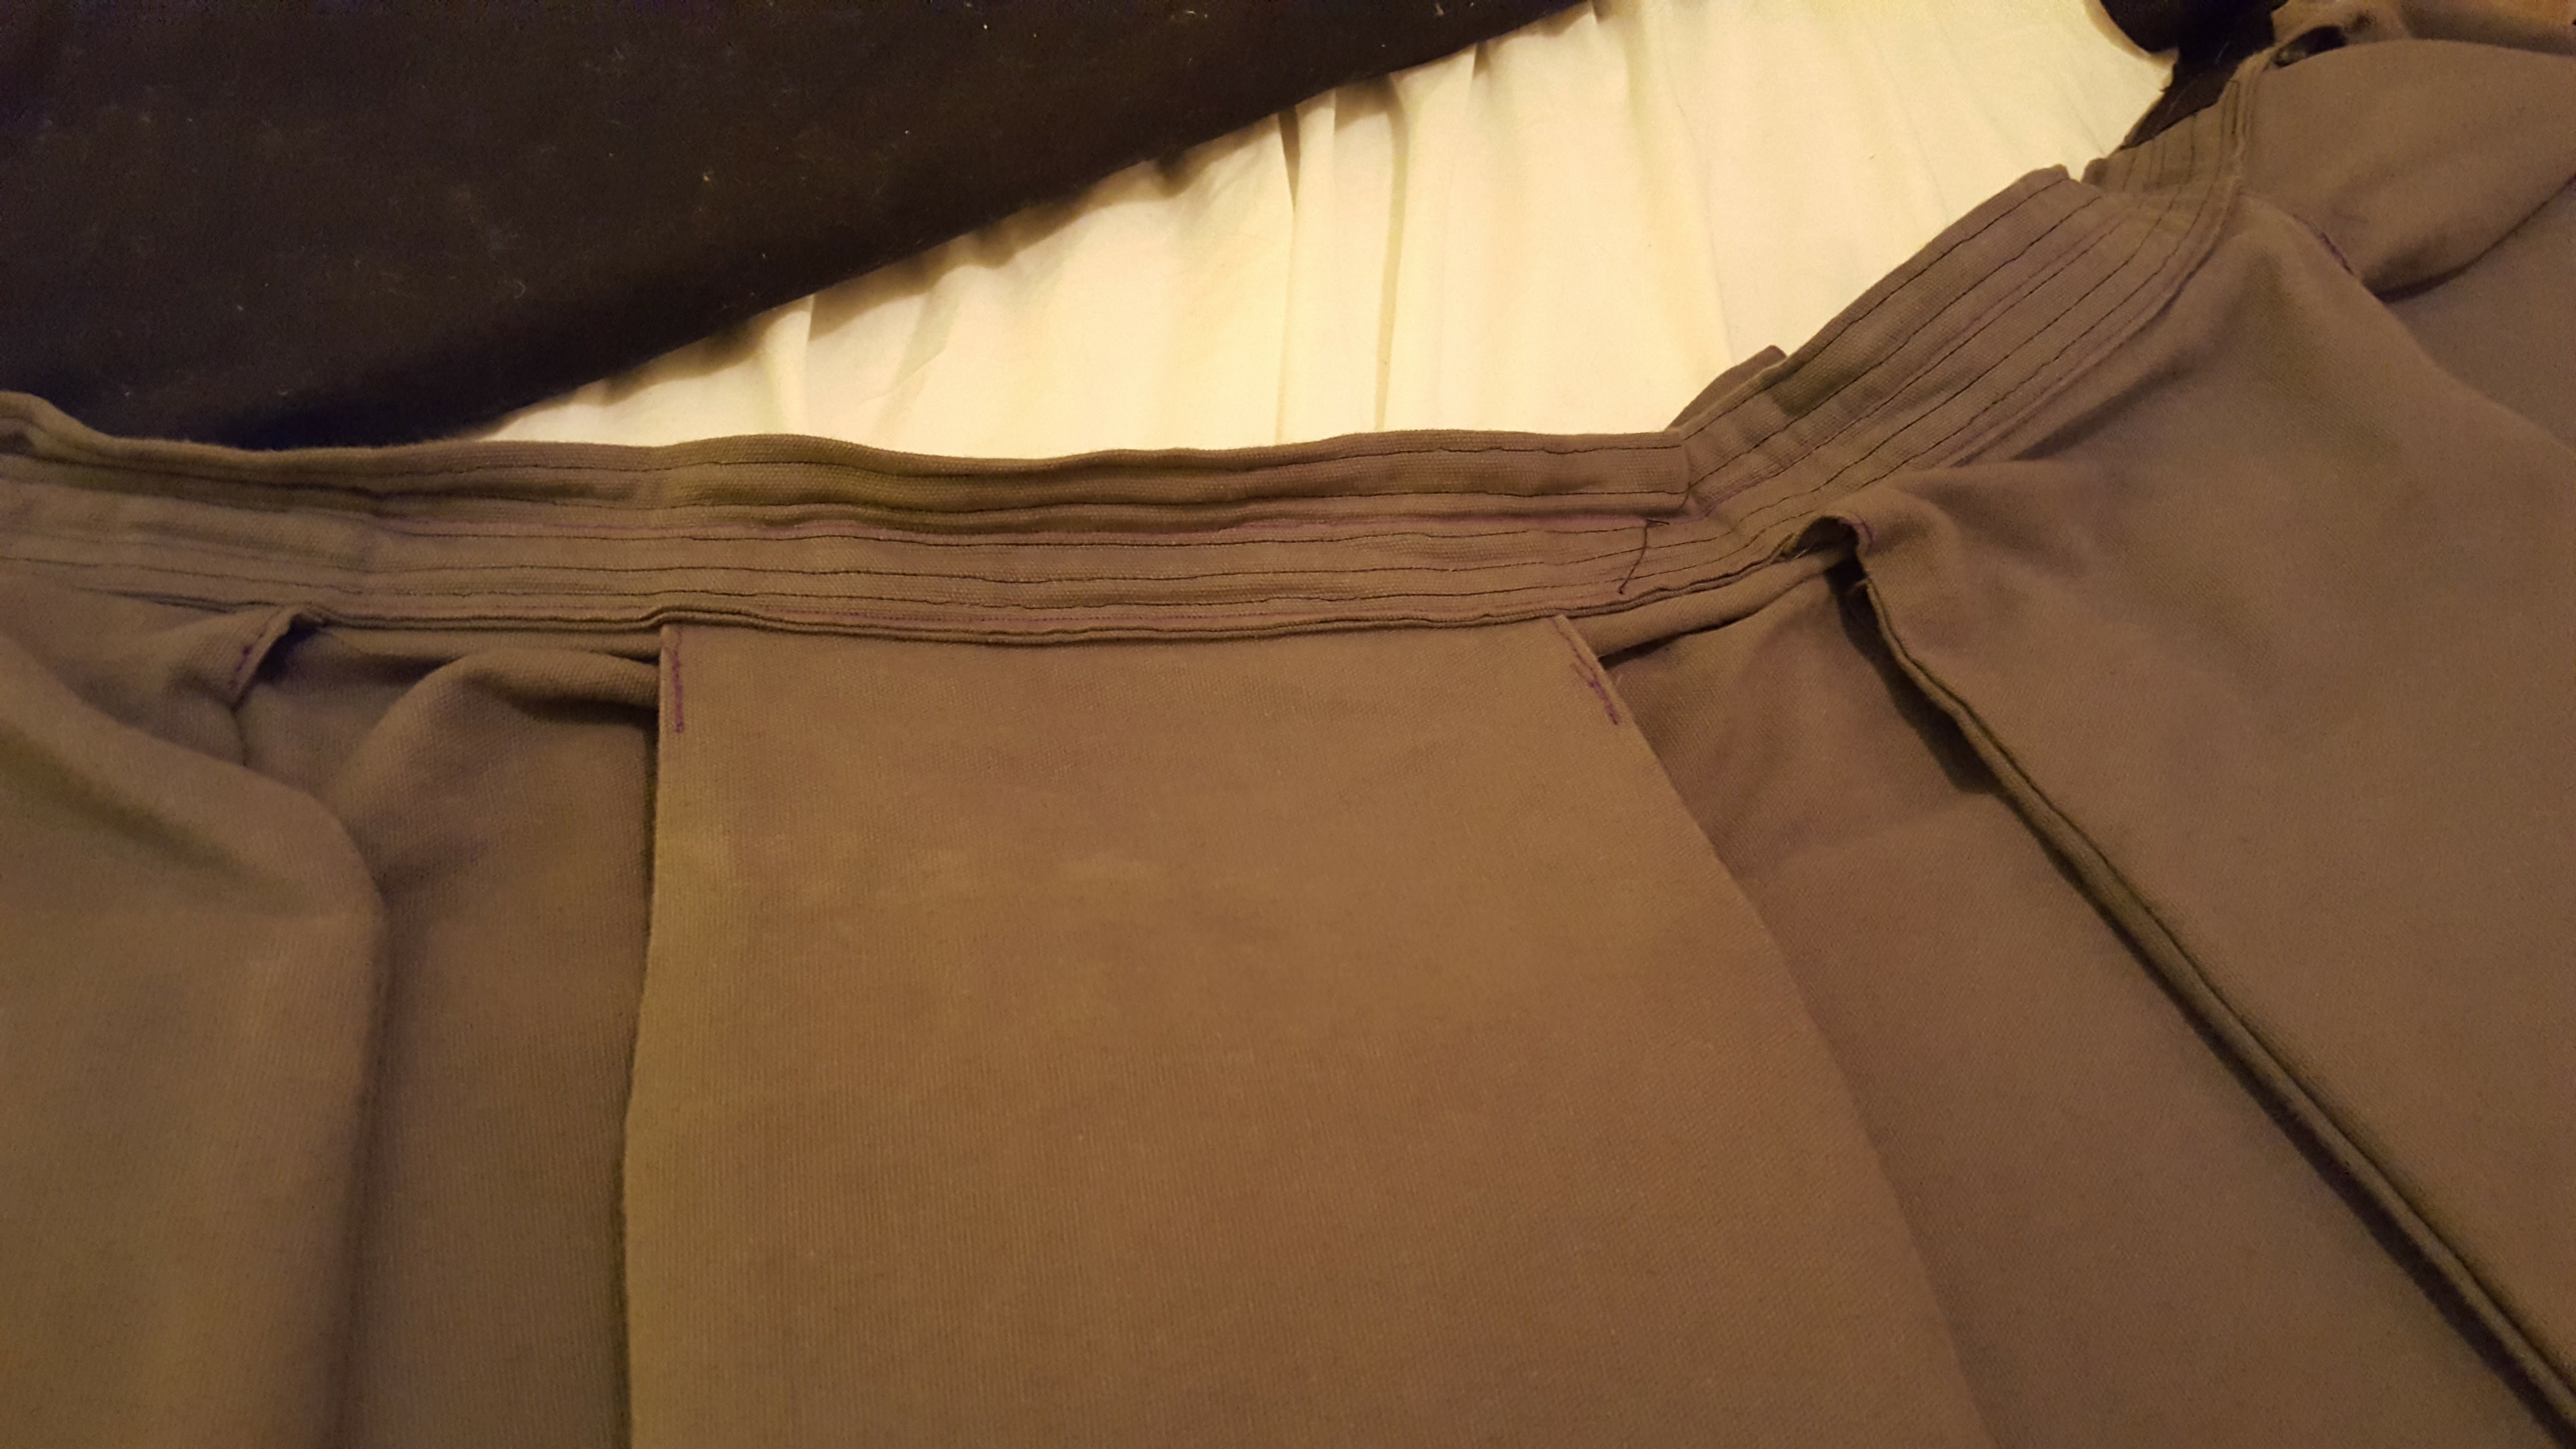
Belt
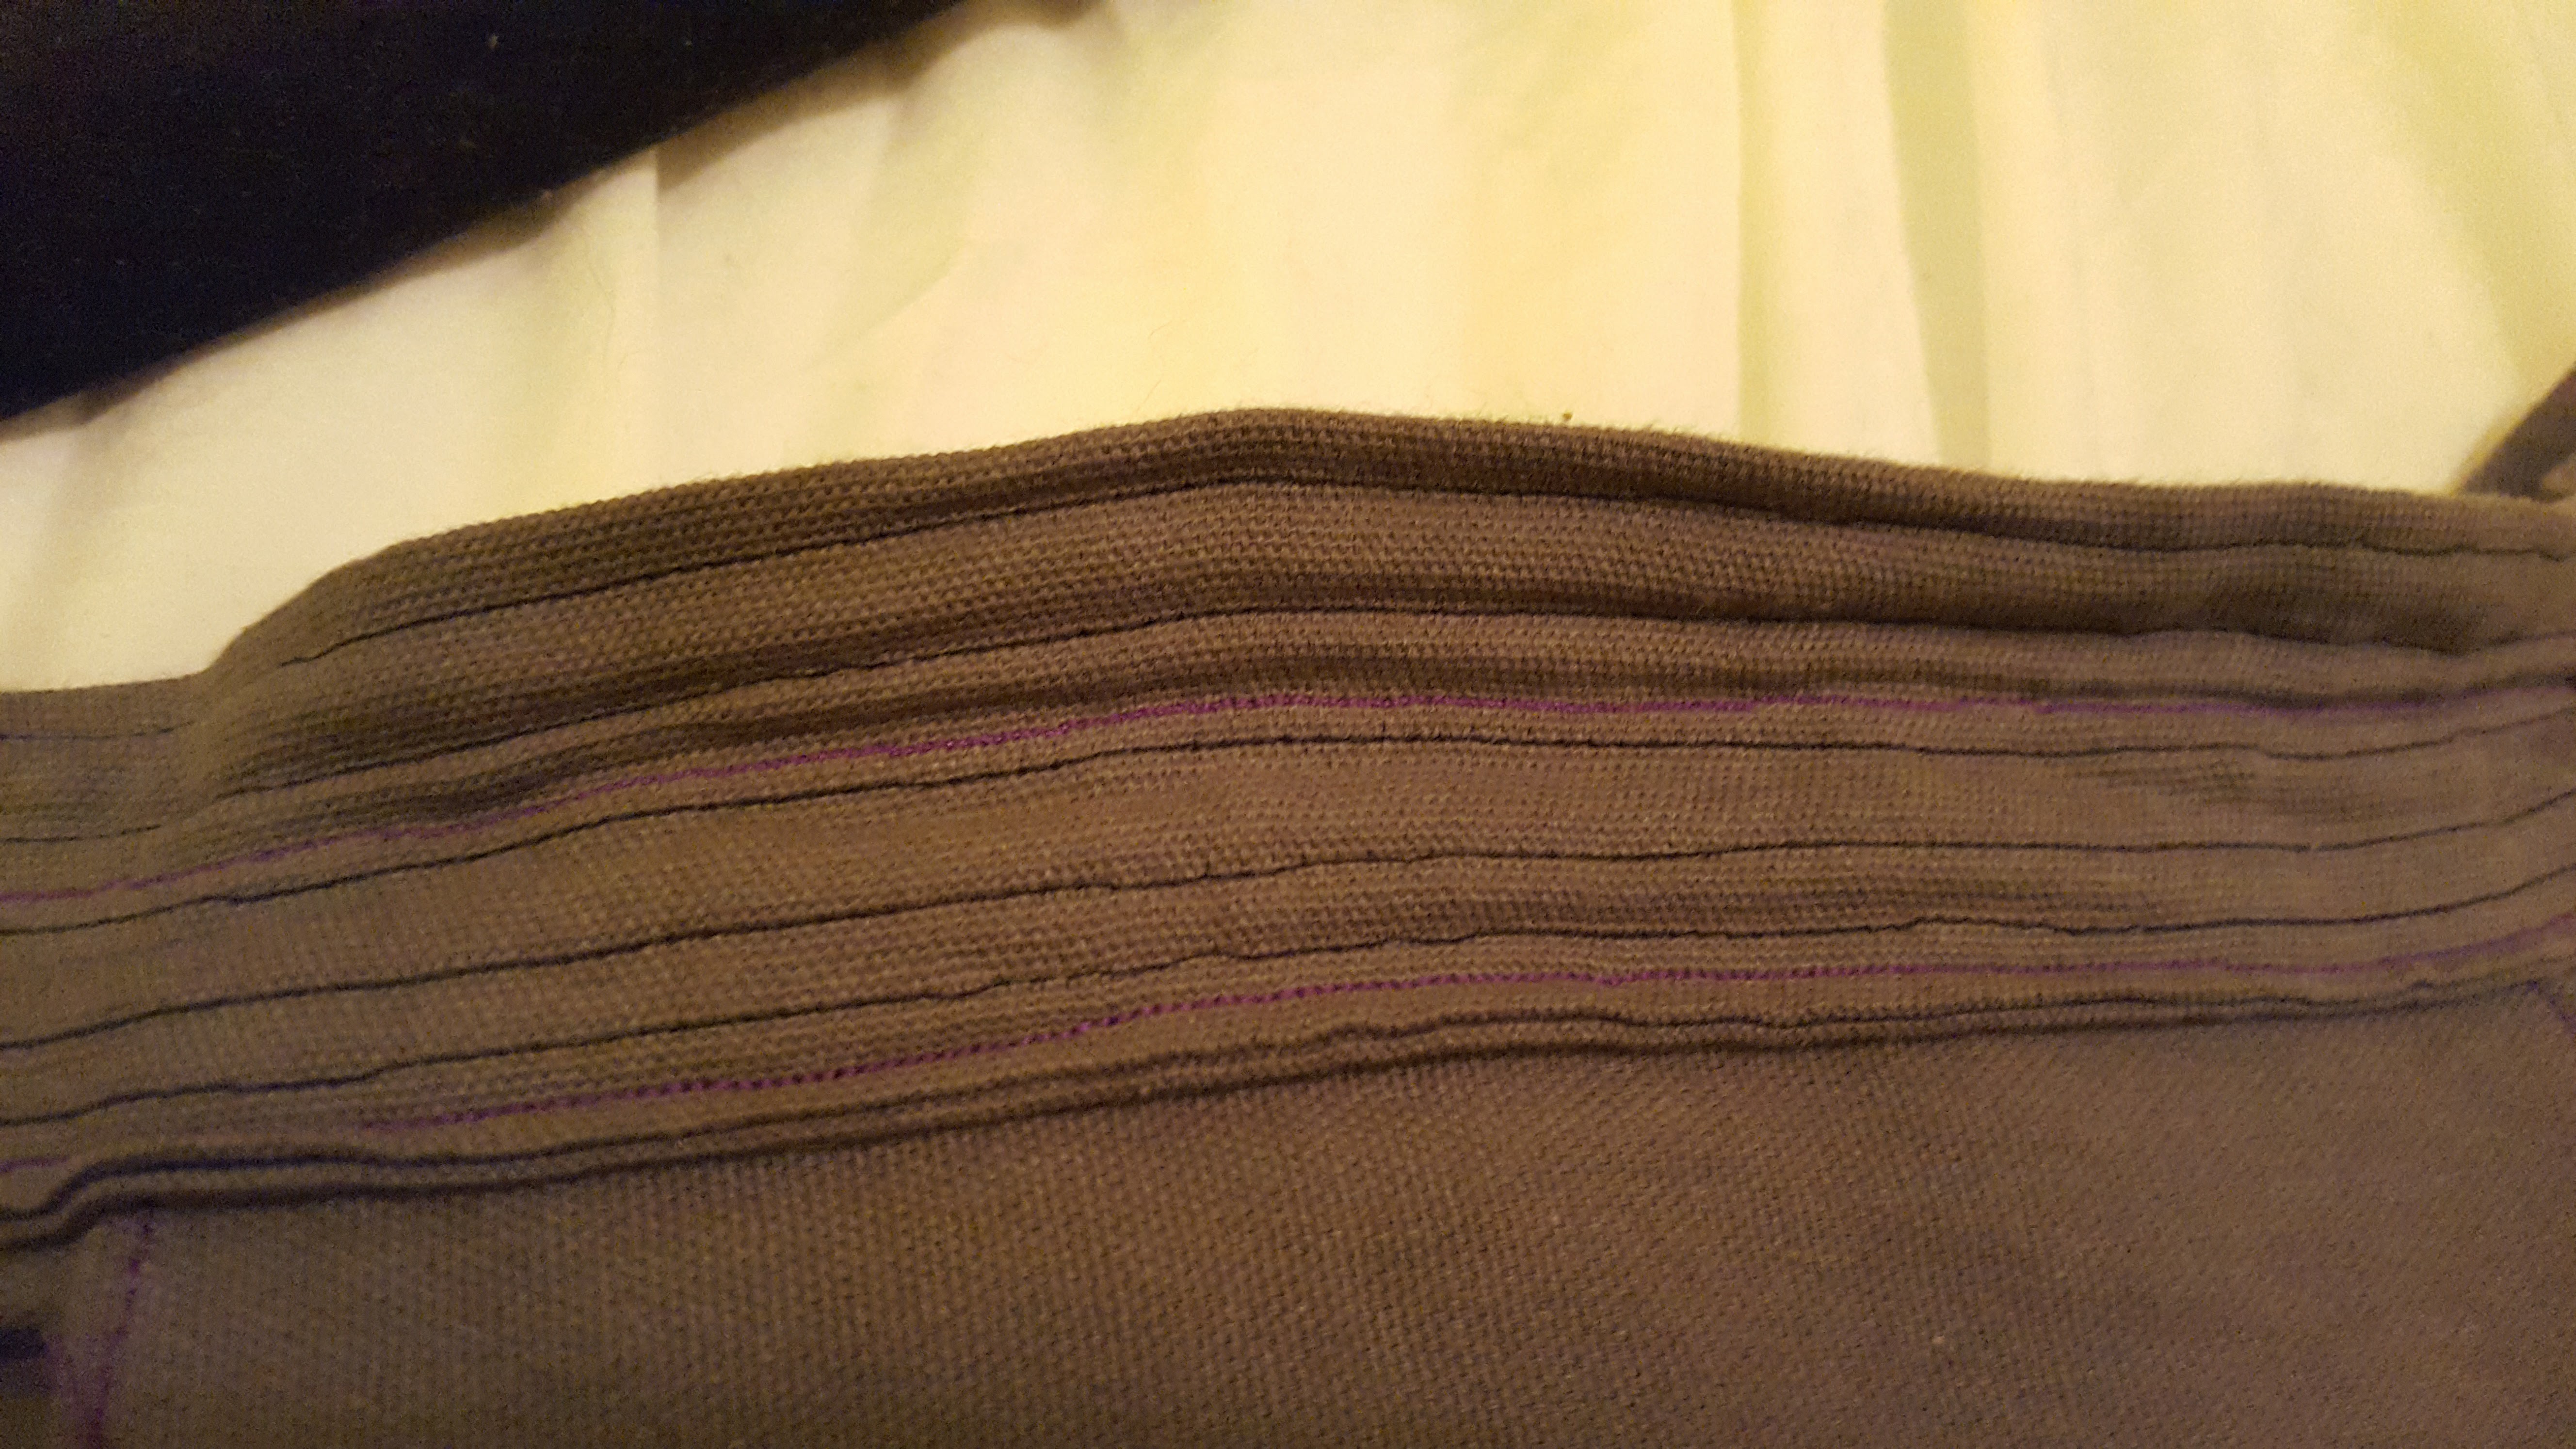
I wanted my belt to be about 5 cm (2 in) wide, but I also wanted the belt to be thick so it would hold up the panels properly. I went with four layers, and made this belt this way: I cut a strip of fabric 110 cm long (I was looking for about a 44 inch waist) and 20 (8 in) cm wide. If you imagine the 20 cm side with marks every 5 cm, you want to fold the right side of the strip at the 5cm mark, and the left side of the strip at the 5 cm mark. This leaves a sort of book-like arrangement with two 5 cm flaps folded over and meeting each other in the middle of what is now a 10 cm wide strip of fabric. With that done, you fold the fabric in half, lengthwise, leaving you with a four-layer, 110 cm strip of fabric.
I sewed along the length of the belt about five times, or with one seam every centimeter.
Panels
This is the hardest part of the skirt, so please bear with me. First you have to determine the width of your panels, which relies on two things: one, your belt length, and two, achieving a balance between a useful width (not too narrow or wide) and making sure you end up with an odd number of panels in total.
I figured this out for me through trial and error, and by drawing a whole lot of sketches to help myself understand. I can’t find my original sketches, but I redid some of my math and thought processes; they’re included below.
The best overlap pattern is one where more of a panel has overlap that does not. For example, if you have a 5 cm panel, 2 cm should overlap neighboring panels, and 1 cm should remain in the middle, with no overlap. You can make things mathematically easier by just dividing your panels into thirds, but I’ve found that having a little more overlap offers more protection without hindering movement.
An odd number of panels is best. This is because the front of the skirt will always feature one panel in the very center (covering the crotch directly). This panel should overlap (as opposed to “underlap”) the two panels directly next to it. This provides better coverage and it offers better freedom of movement. Not once did I get caught up in my panels during or out of combat.
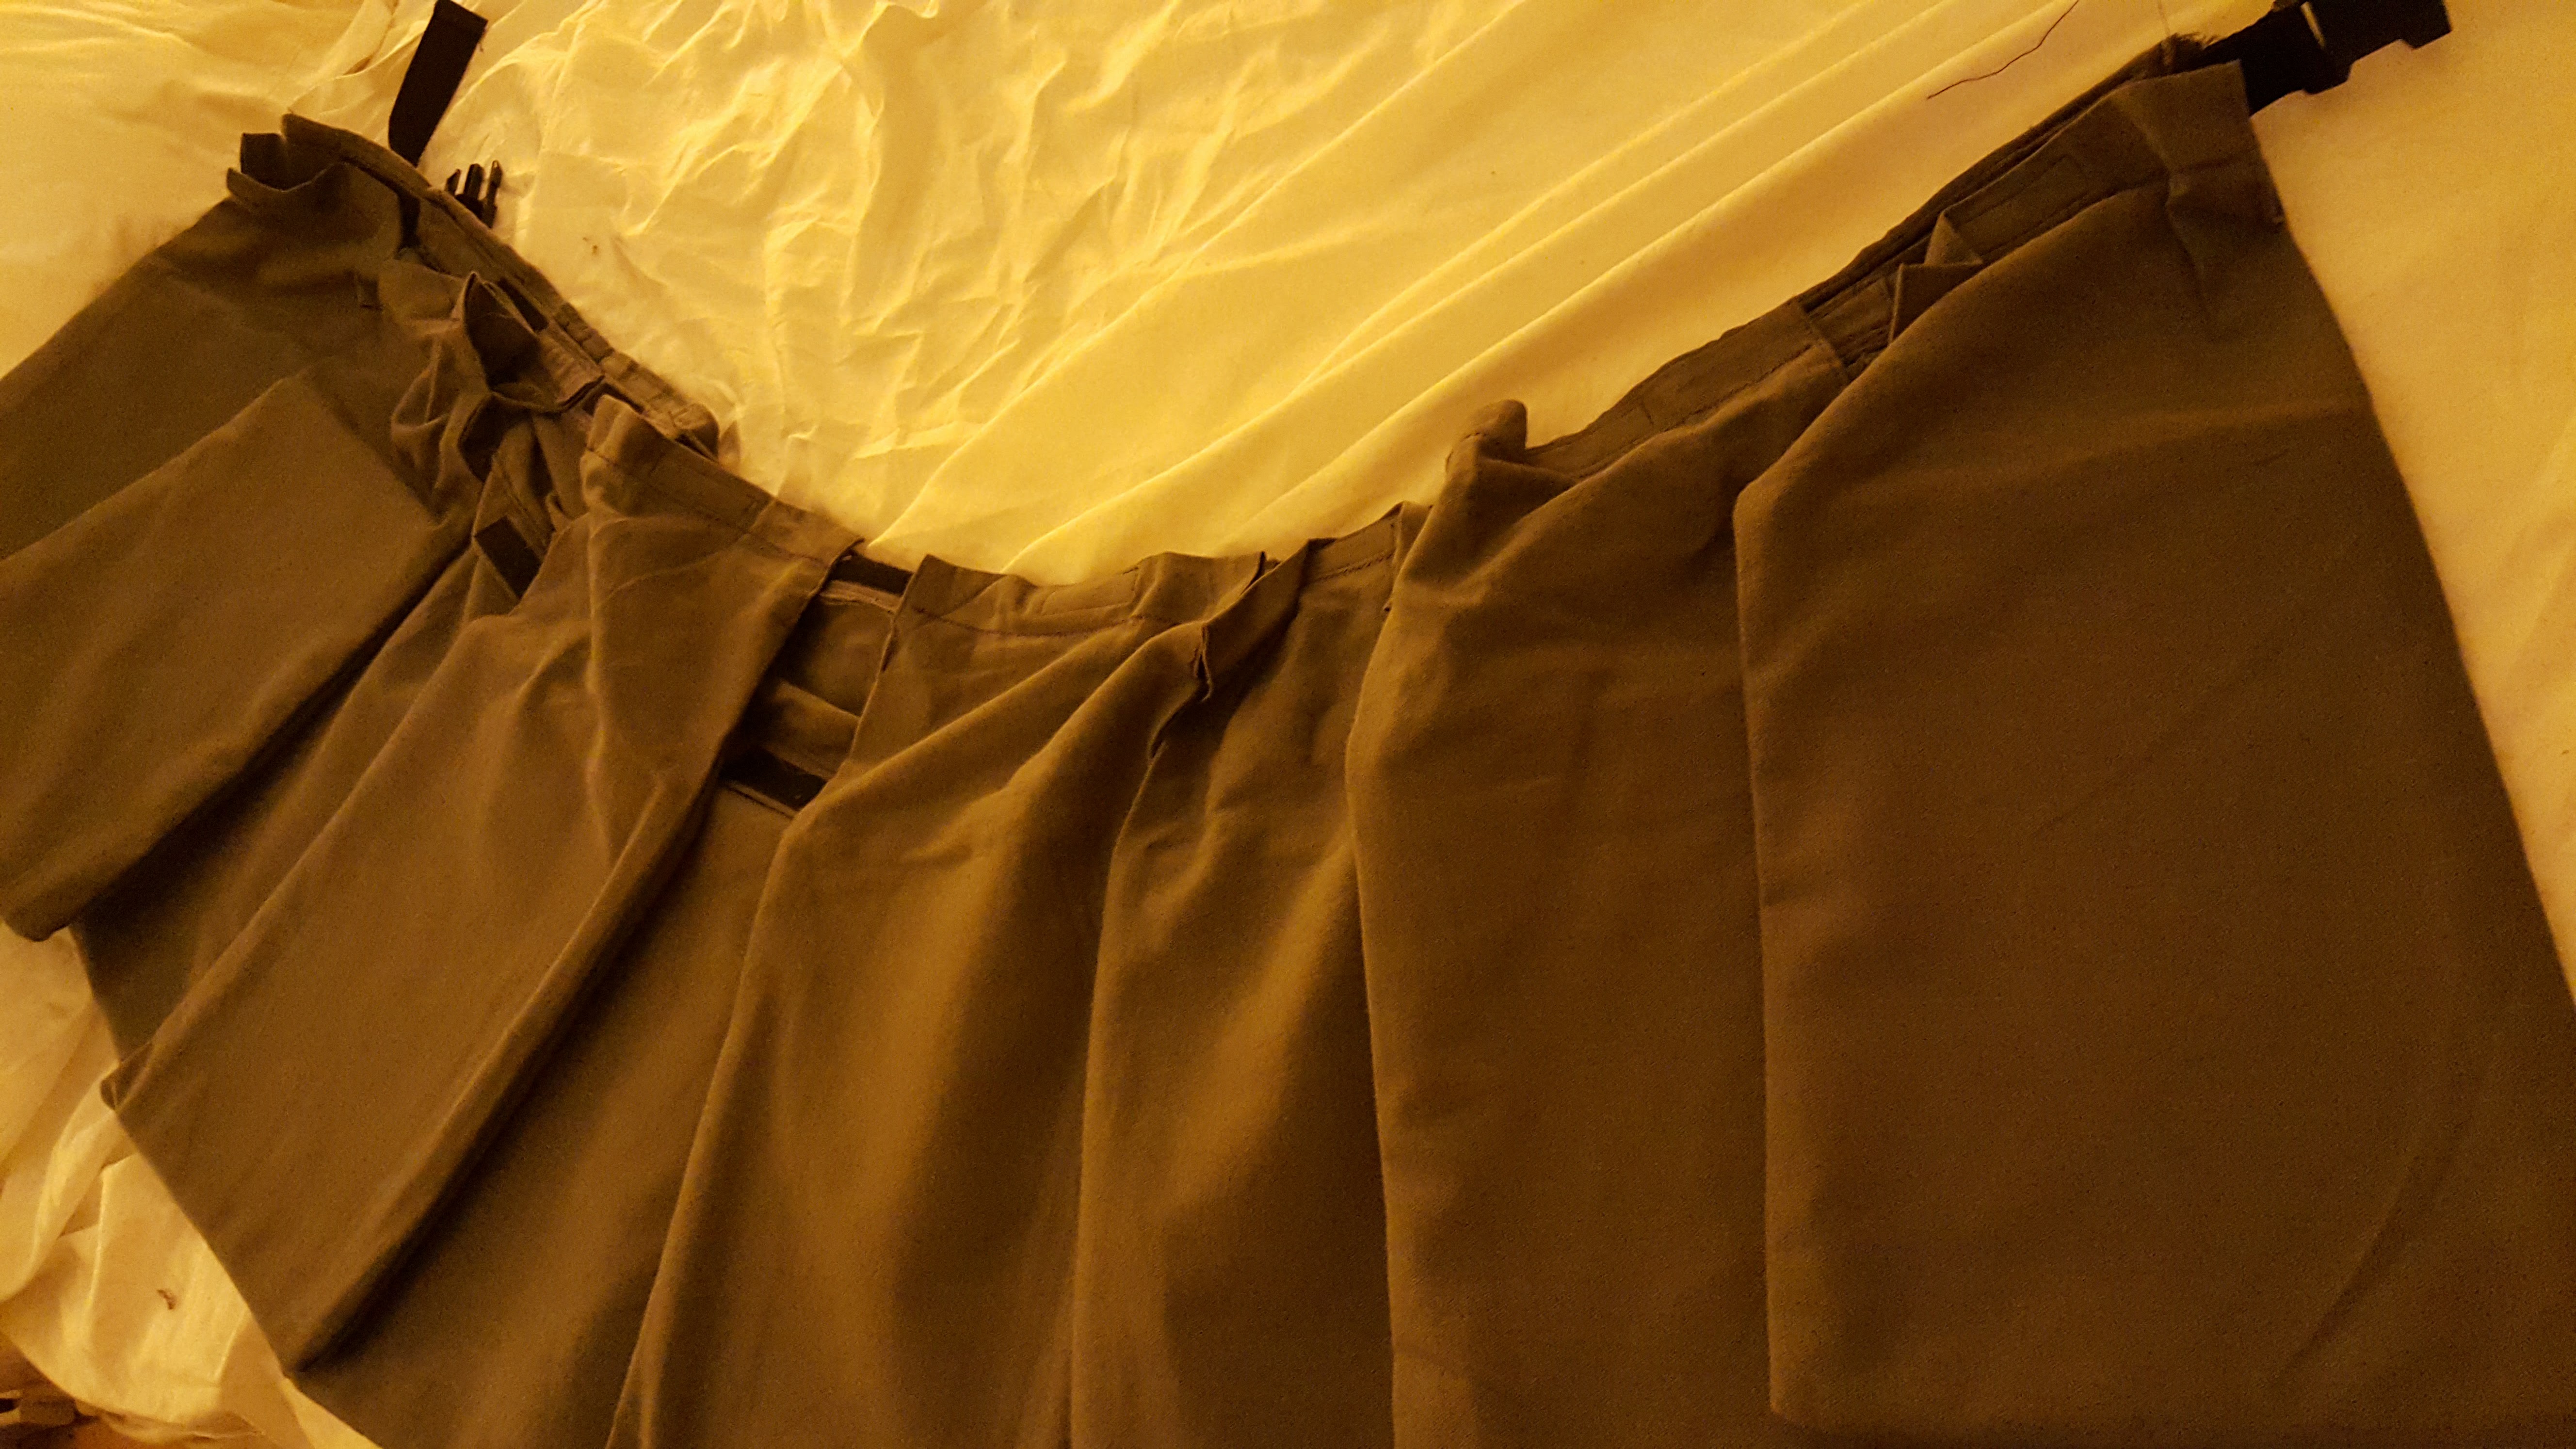
I ended up with nine 8-inch panels, which, when overlapped, came to a total of 48 inches in length. Though my waist is about 44 inches, I went ahead with the 4-inch overage because I knew I could backtrack the male part of my plastic clip and let the back of my skirt overlap itself when clasped shut. It was a risk, but it worked out really well and didn’t get awkward, as far as I can tell.
In metric, my panels were about 20 cm. The top 3 cm of the panel were meant to be anchored to the belt, and only one layer of the panel would be attached, to leave an opening for inserting the foam rubber pieces.
One more thing: The panels are not rectangular – they taper from bottom to top. How much they taper is up to you, but I kept mine pretty mild. They went from 8 inches at the top to 10 at the bottom.
Okay! With all of that out of the way, here’s what you need to do.
- Draw a pattern
- Cut the fabric to the pattern
- Sew the panels themselves
Draw a pattern
Just like it says. Grab a piece of paper and with a ruler, draw a shape that looks like a slice of pizza with the tip cut off and the crust trimmed to make it straight. For me, I drew a shape that was 8 inches wide at the top, 20 inches long, and 10 inches wide at the bottom. And then I added a half inch to all sides, because you need at least that much for seam allowance. So, the shape in total was 9 inches wide at the top, 21 inches long, and 11 inches wide at the bottom.
Once you’ve drawn the pattern and are happy with how it’s looking, cut the pattern out of the paper. Then pin the pattern to the fabric. It makes sense to pre-cut portions of fabric for the pattern, to make it easier to apply and then later cut.
Cut the fabric to the pattern
This is one of the more onerous parts. To make things easier for me, I made sure that the portions of fabric I had pre-cut for my panels measured 11 inches wide and 42 inches long. This was so I could skip a bit of sewing by letting the fabric fold in half to make the bottom of my panel. This way, instead of sewing two separate pieces of fabric together into one pocket, I simply folded a piece of fabric in half and just sewed up along the sides, leaving the edge opposite the fold open, to insert the rubber foam and be able to attach the outside of the panel to the inside of the belt.
Anyway: take your fabric, preferably long enough to take the paper pattern when the fabric is folded in half, and pin the paper to the fabric. Then cut around the paper. It’s annoying, yes, but it’s got to be done.
Sew the panels
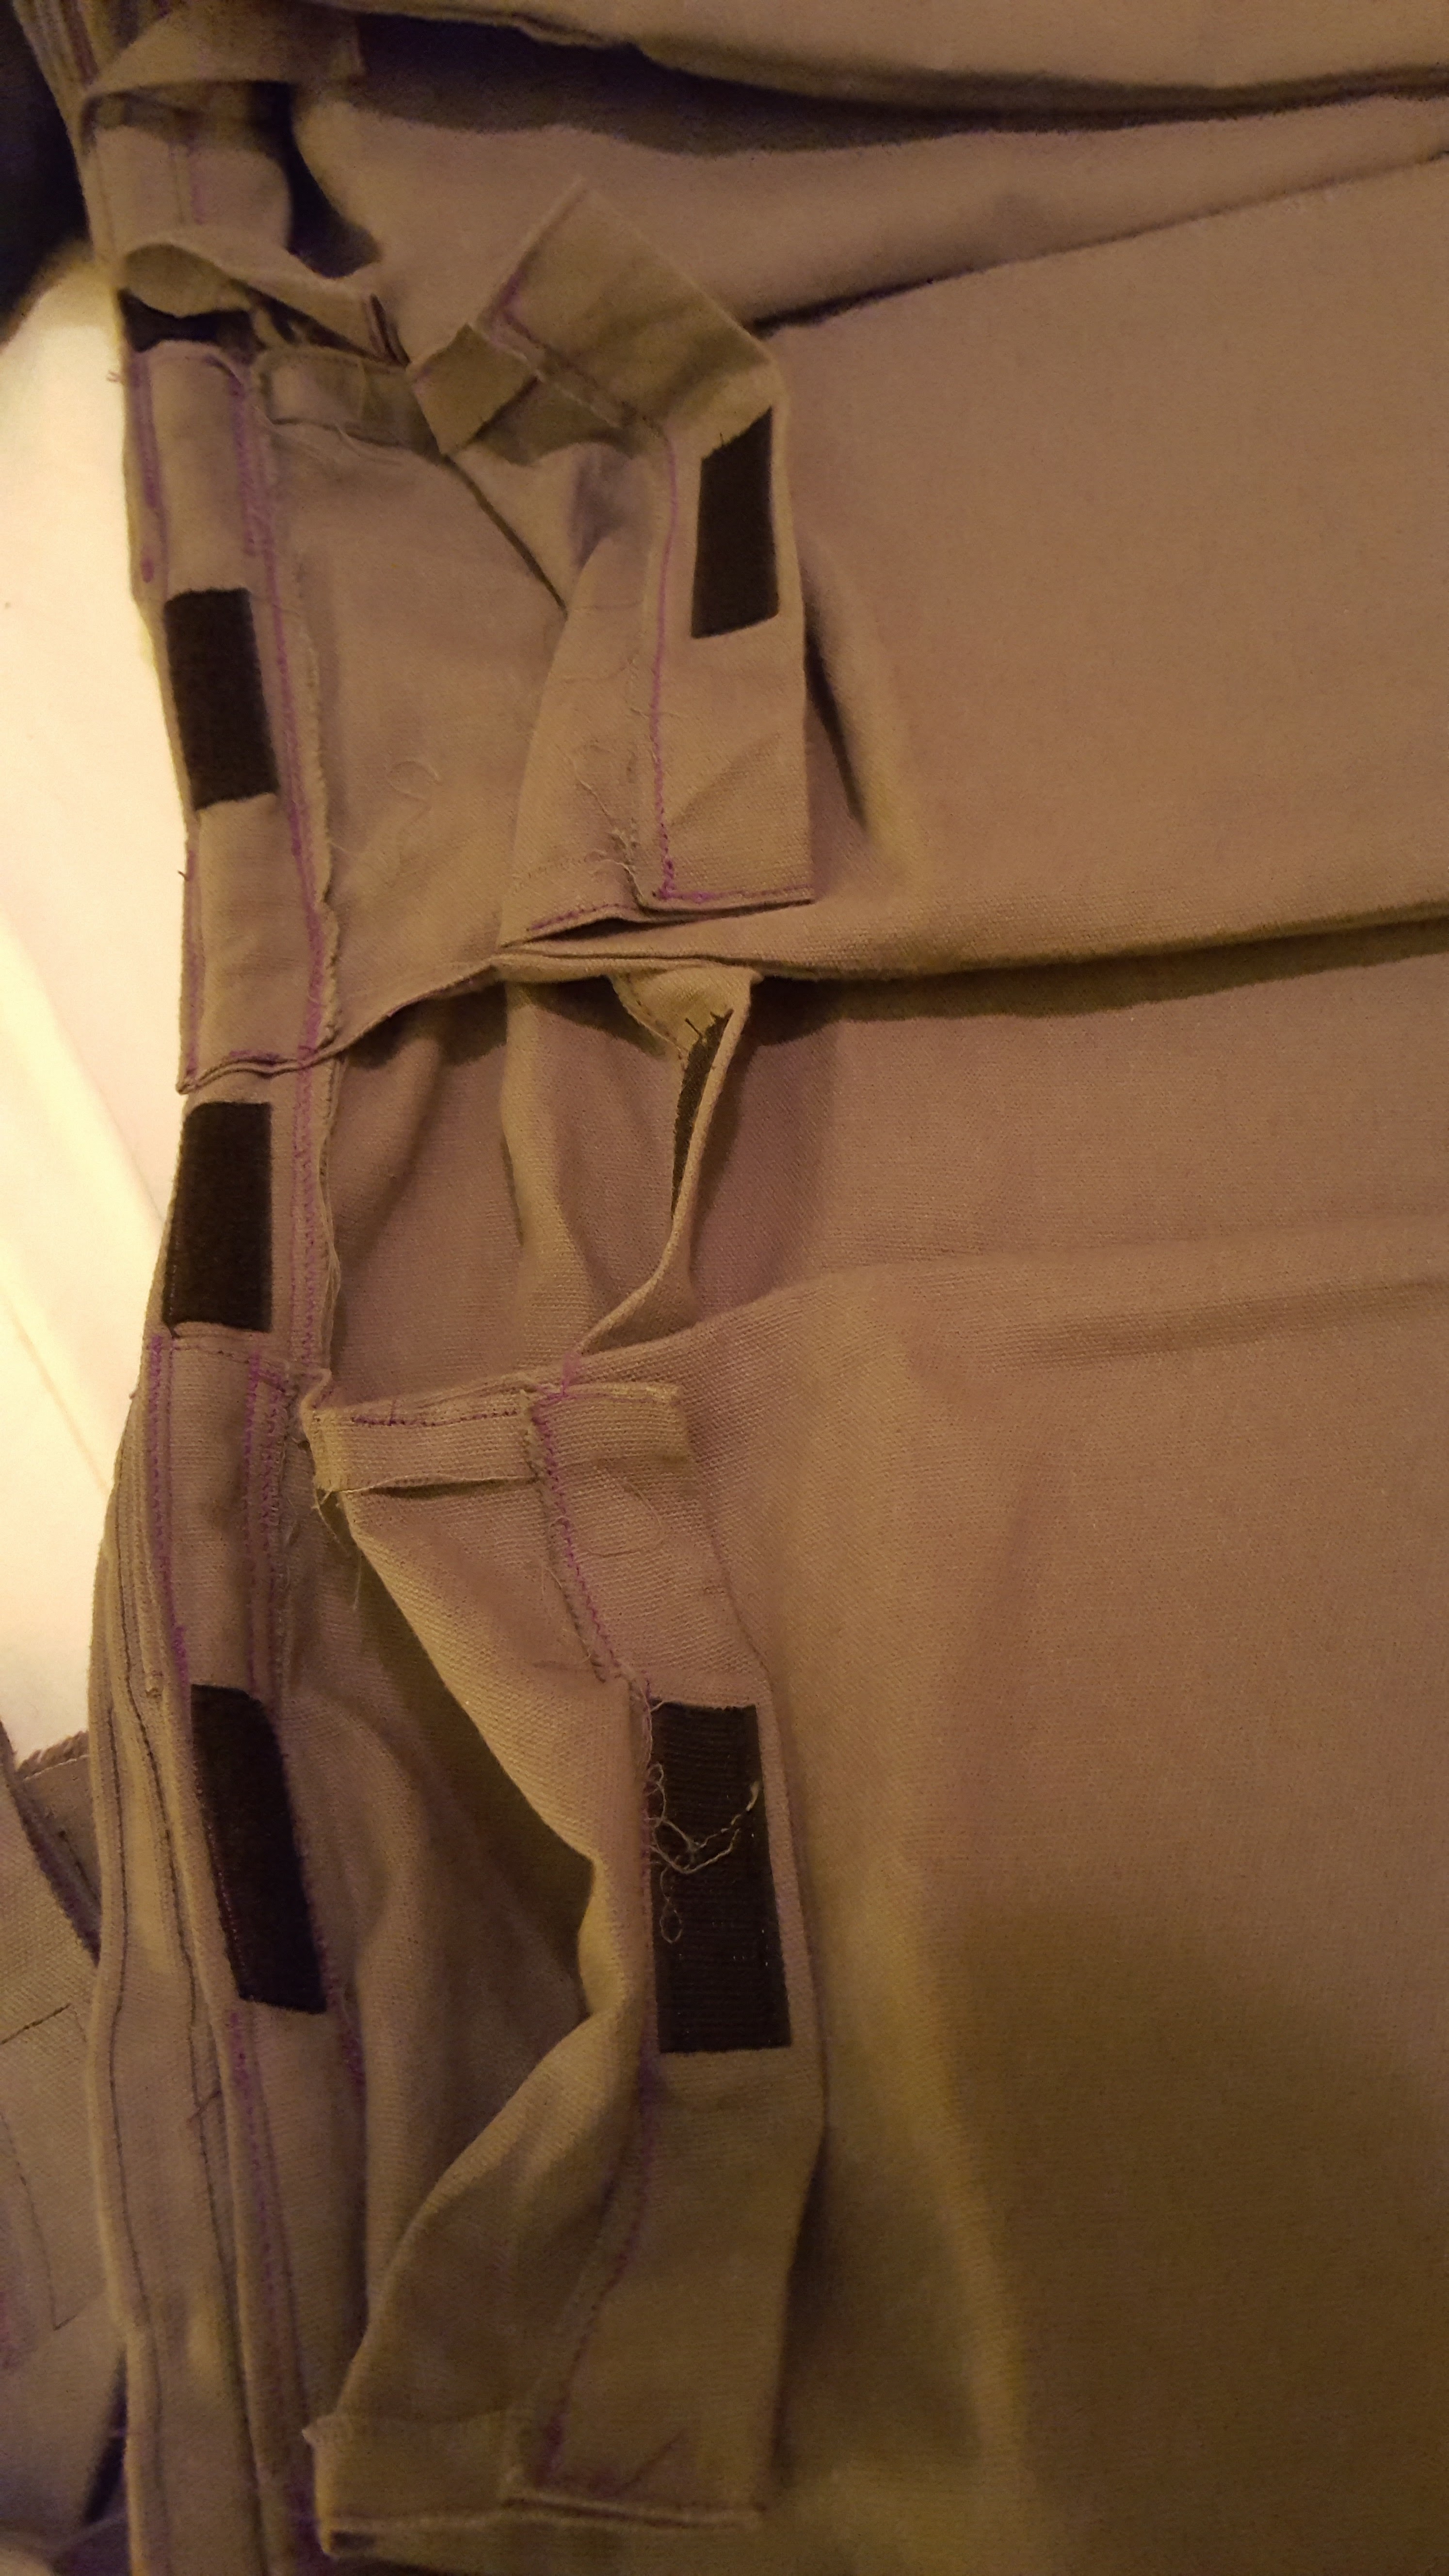
I cheated a little here. Usually, when sewing fabric, you need to hem the edges so the fabric won’t fray. I gave enough seam allowance and used a small enough stitch that the body of the panels will probably have no problem. But I did have to hem the top parts of the panel to keep them from fraying. I freehanded it (and I’m a total beginner), mainly because I just wanted to get things done, and because I wasn’t concerned with the interior of the skirt looking pretty. I did the hemming for the panels once I’d turned them outside-in (so the seam allowance fabric is on the inside of the panel pocket), but you can do it whenever suits you.
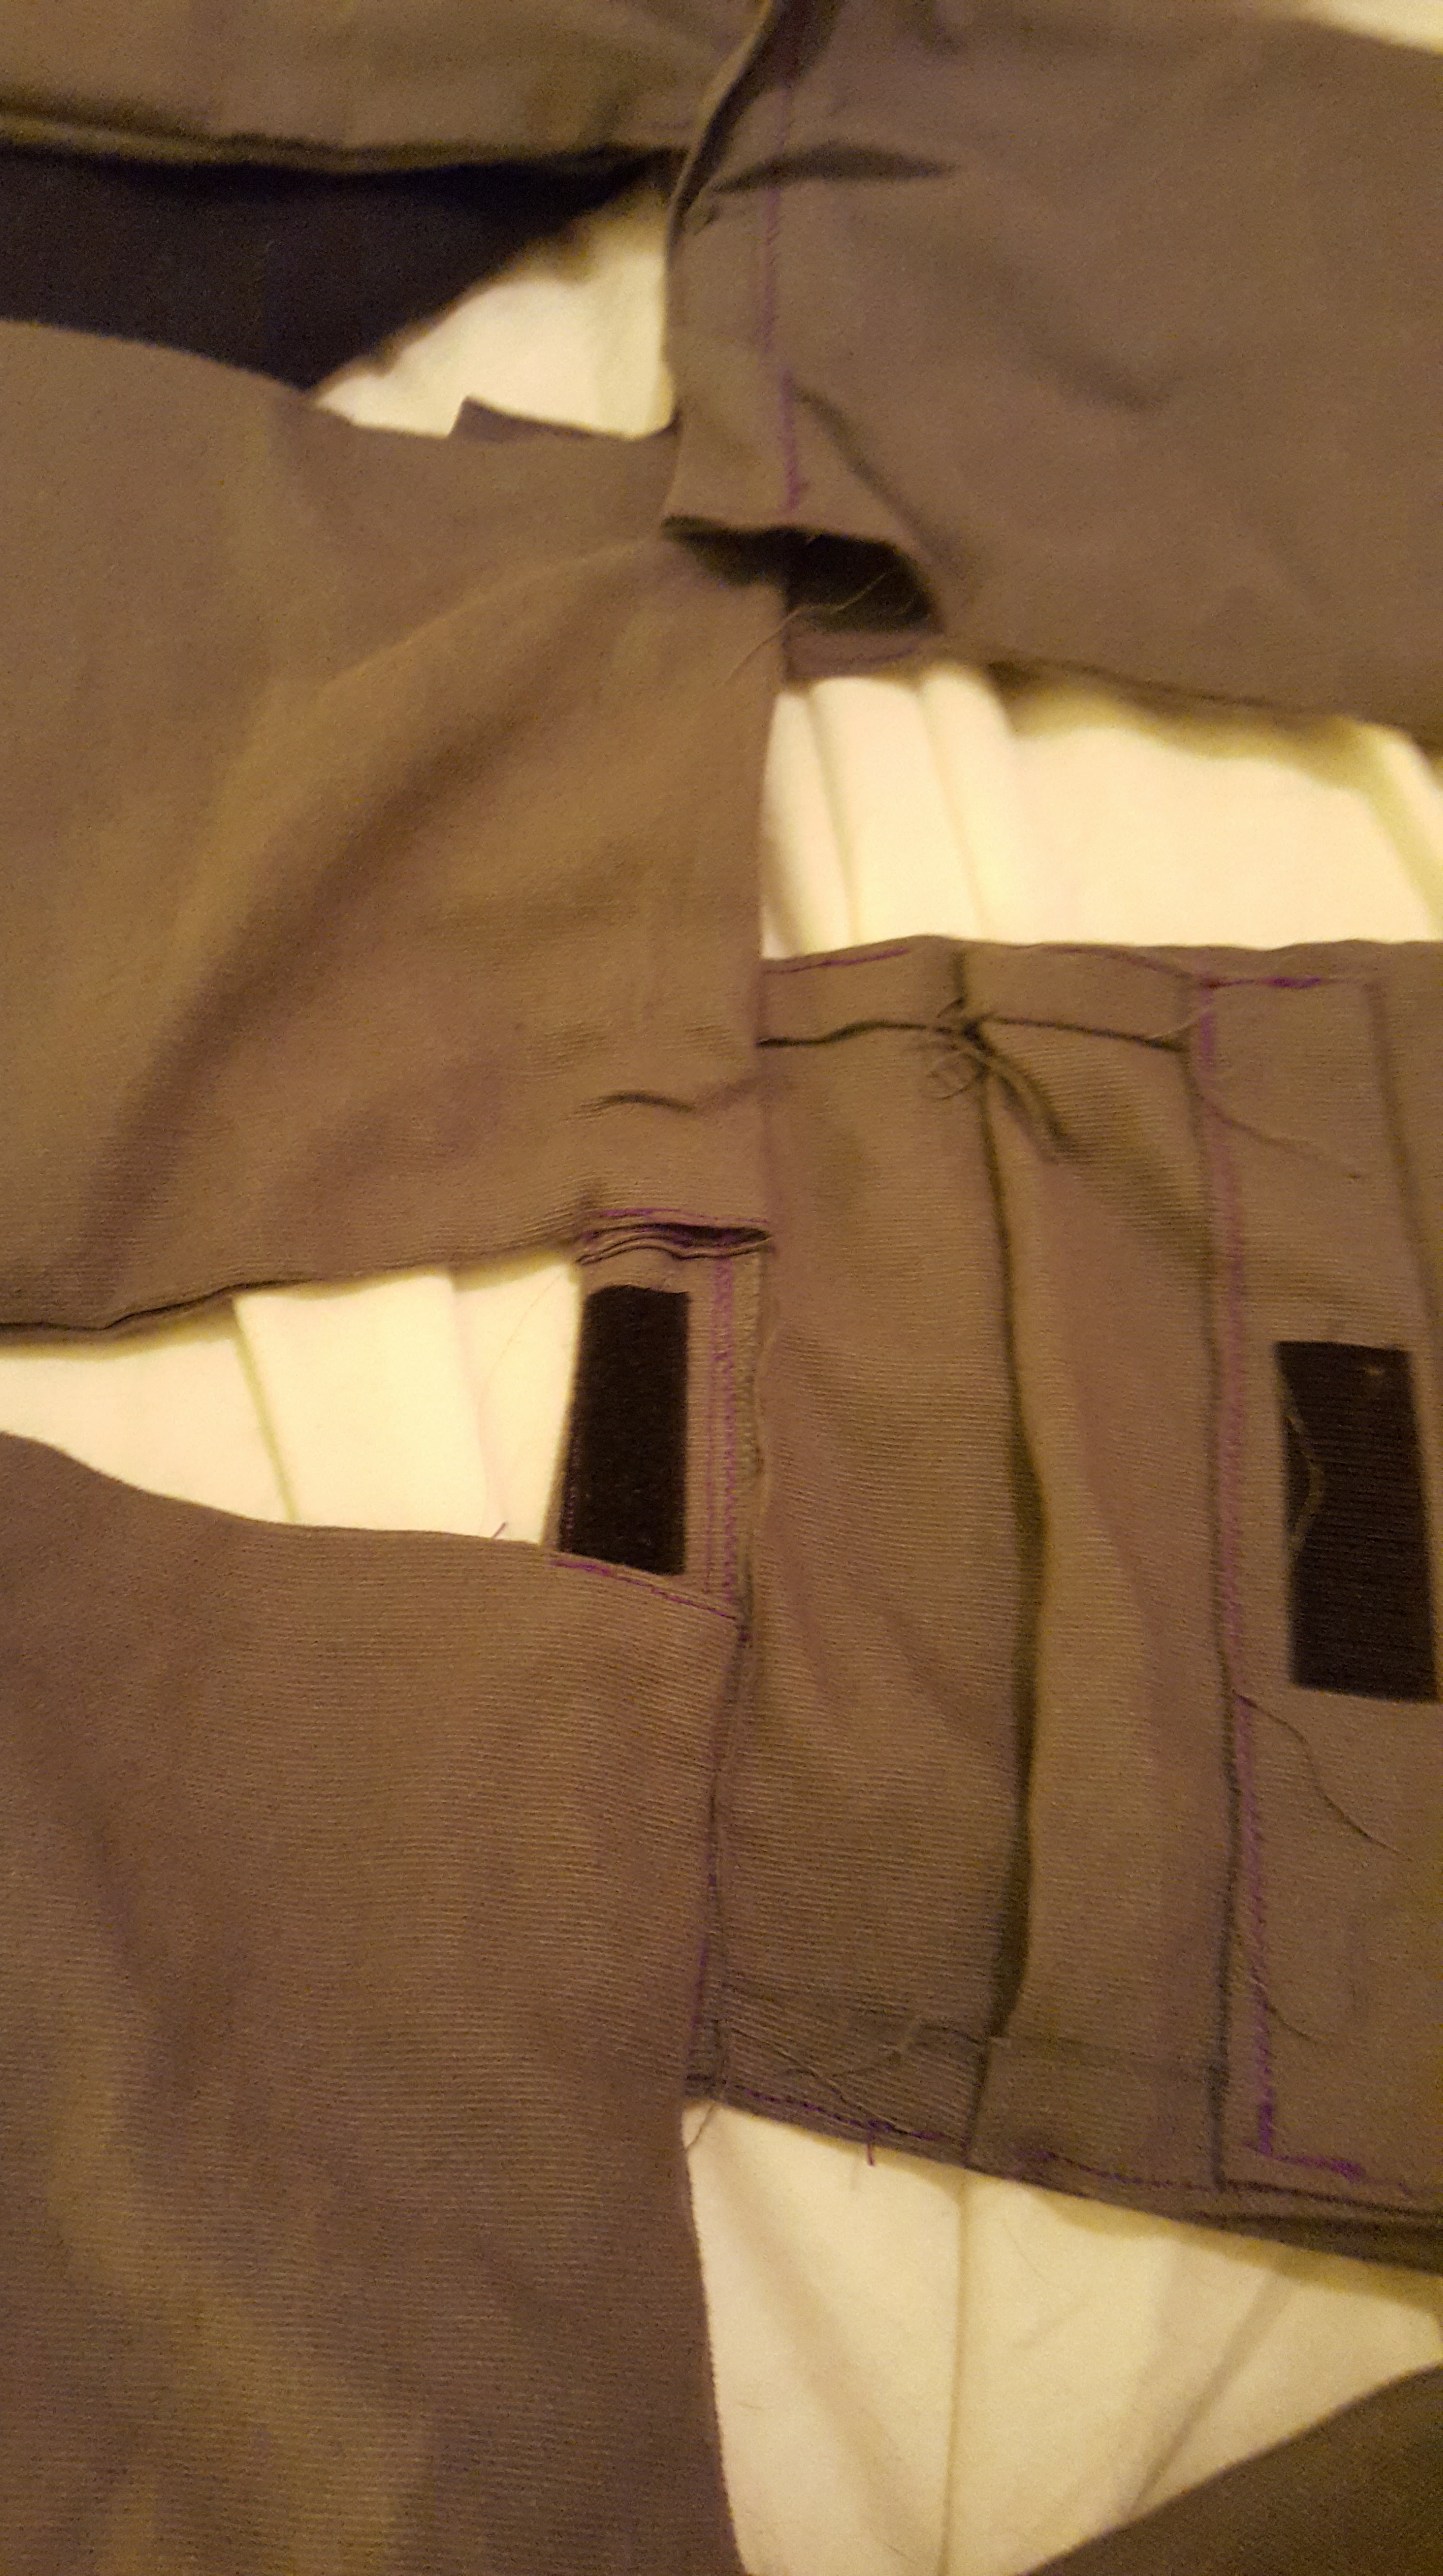
Attaching the panels to each other
You don’t have to build the skirt like this, but I did a lot of freehanding (as in, didn’t pin things down before running them through the sewing machine) and it seemed like the safest way to do things in my mind. I started with one panel, then attached the front of another panel to the rear-facing side of the front of the first panel, then did the same on the other side, using the overlaps already mentioned. This gave me three panels, with the center one over the two side ones.
From there I attached a panel to the forward-facing side of the front of one of the side panels, and did the same for the other side. I continued adding more panels until I ran out of them.
This is a pain, but not as big a pain as actually building the panels.
Attaching the panels to the belt
Back to the belt! I freehanded this, but went slowly enough that I could adjust alignment as I went along. All I did was sew the connected panels to the interior face of the belt (really, it’s this process that decides the interior face of the belt – before that, there’s no difference on either side).
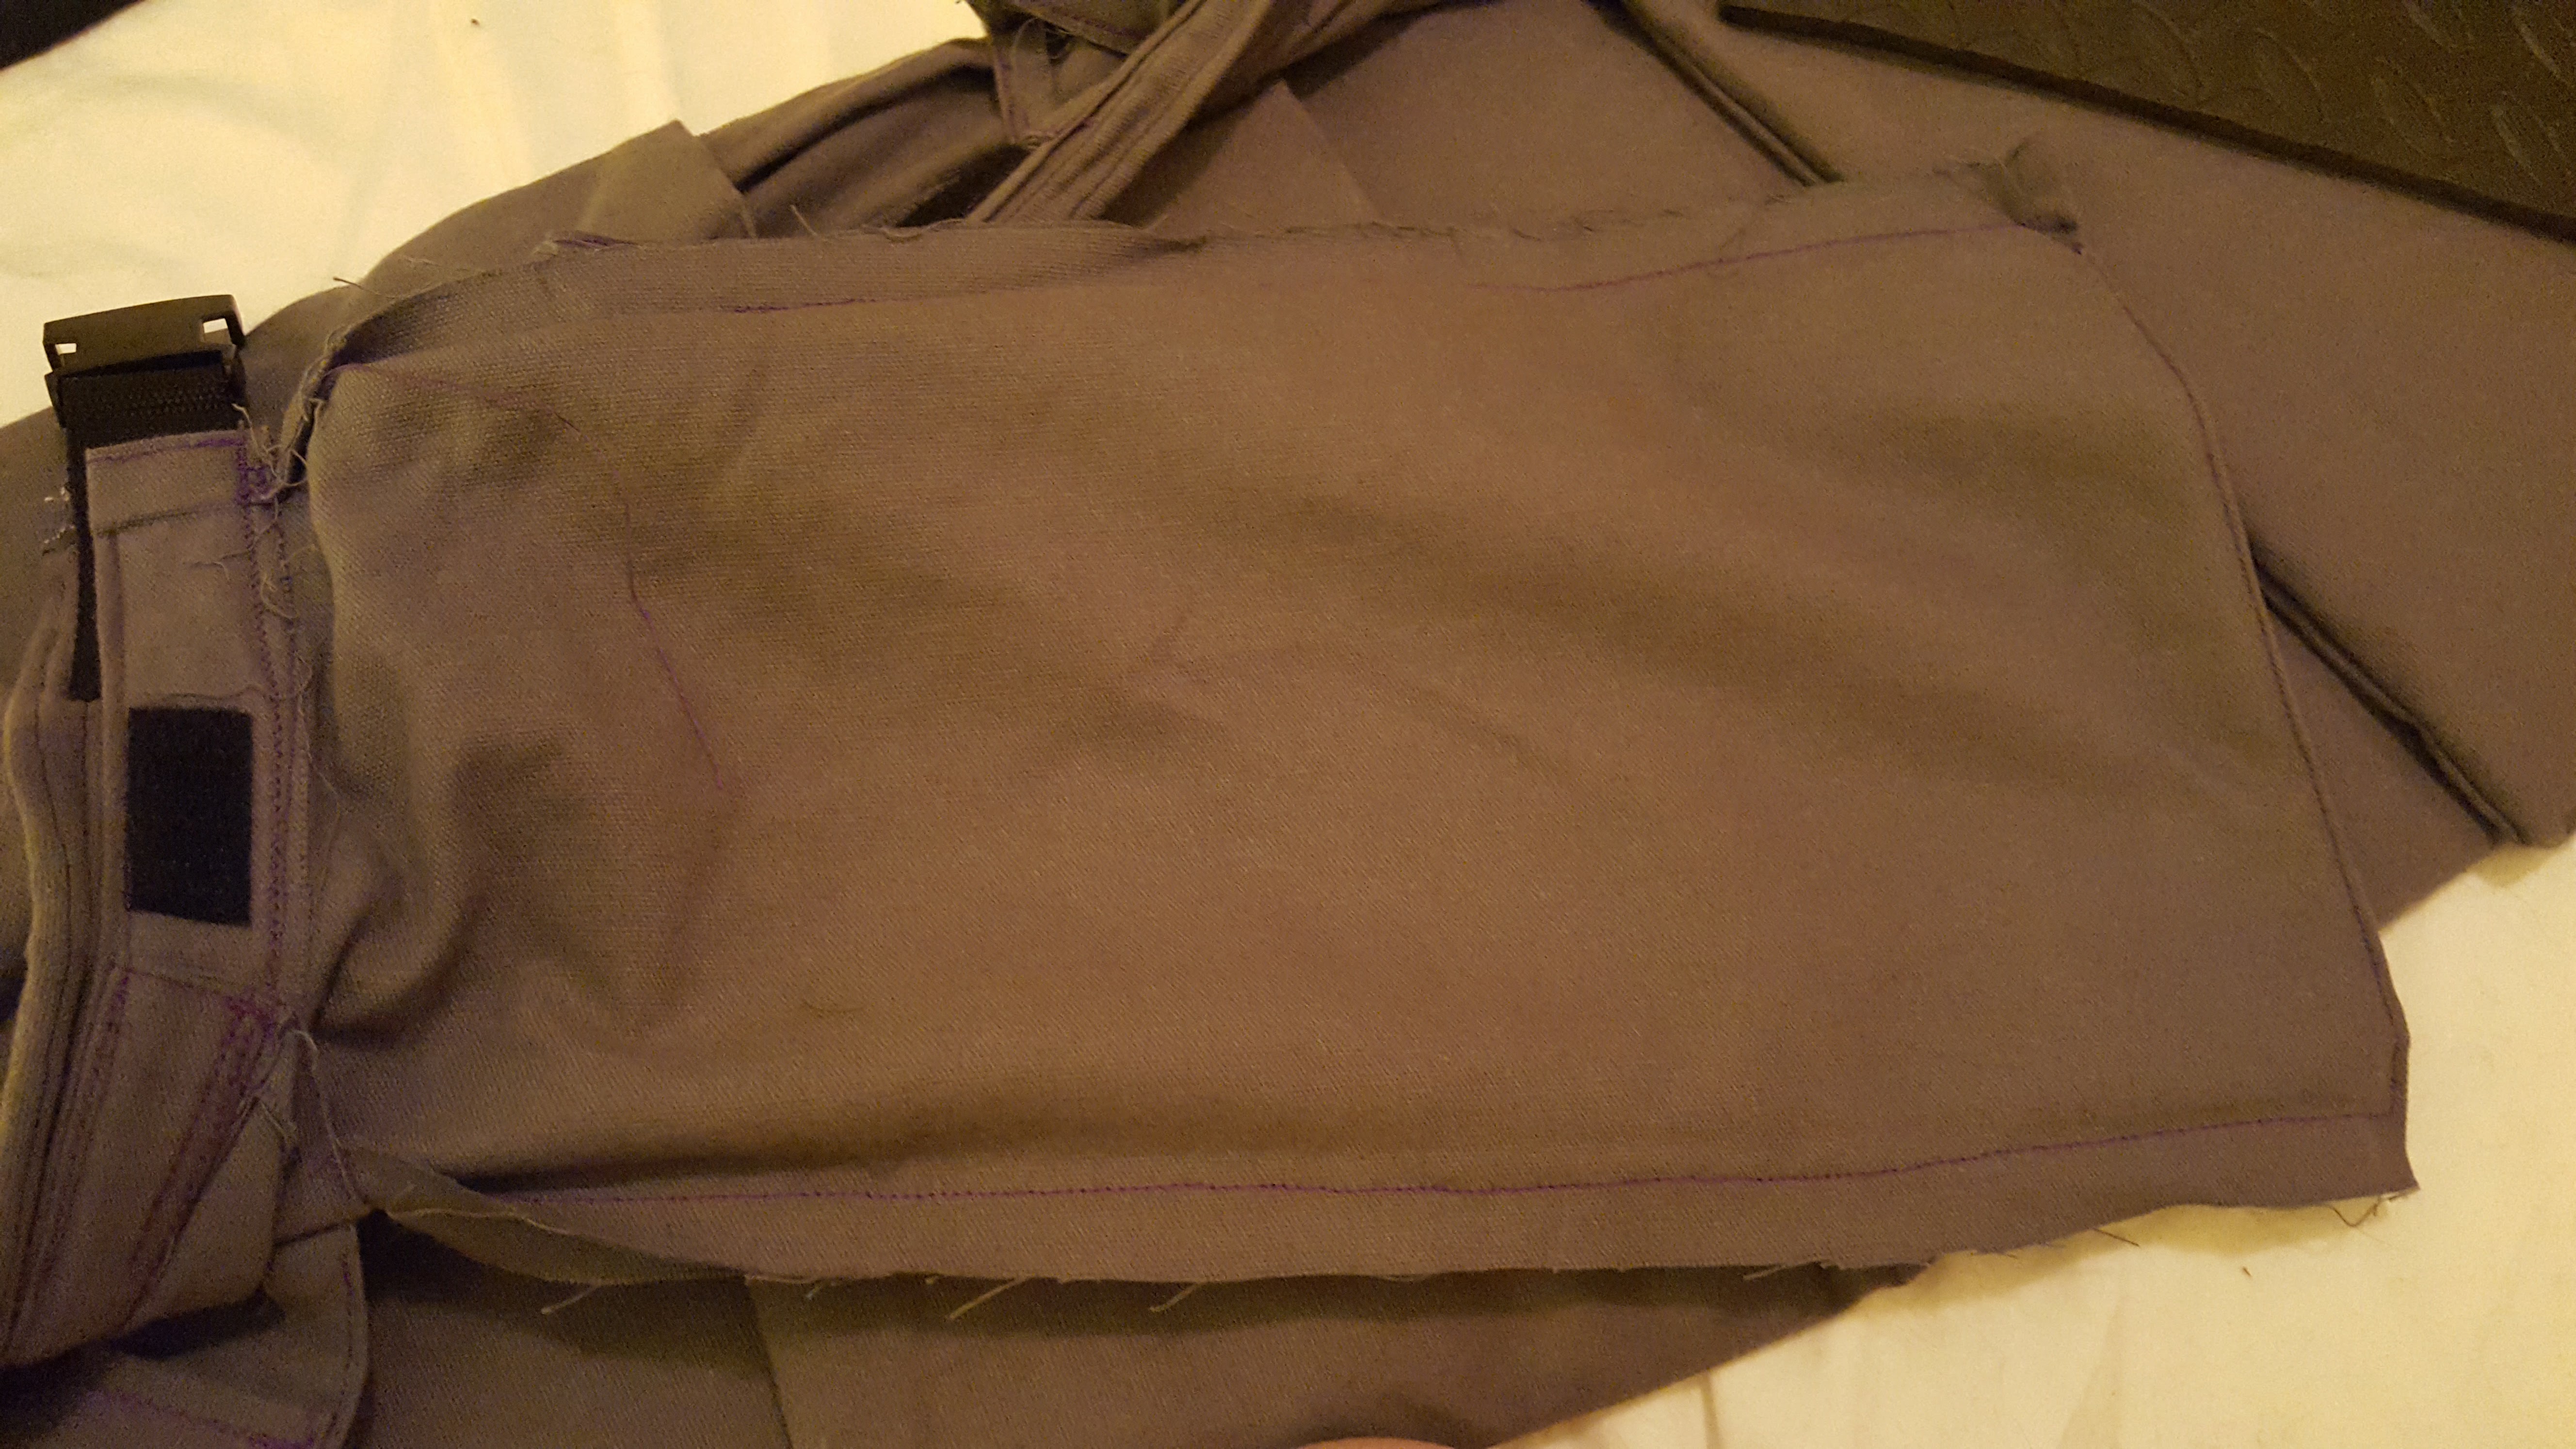
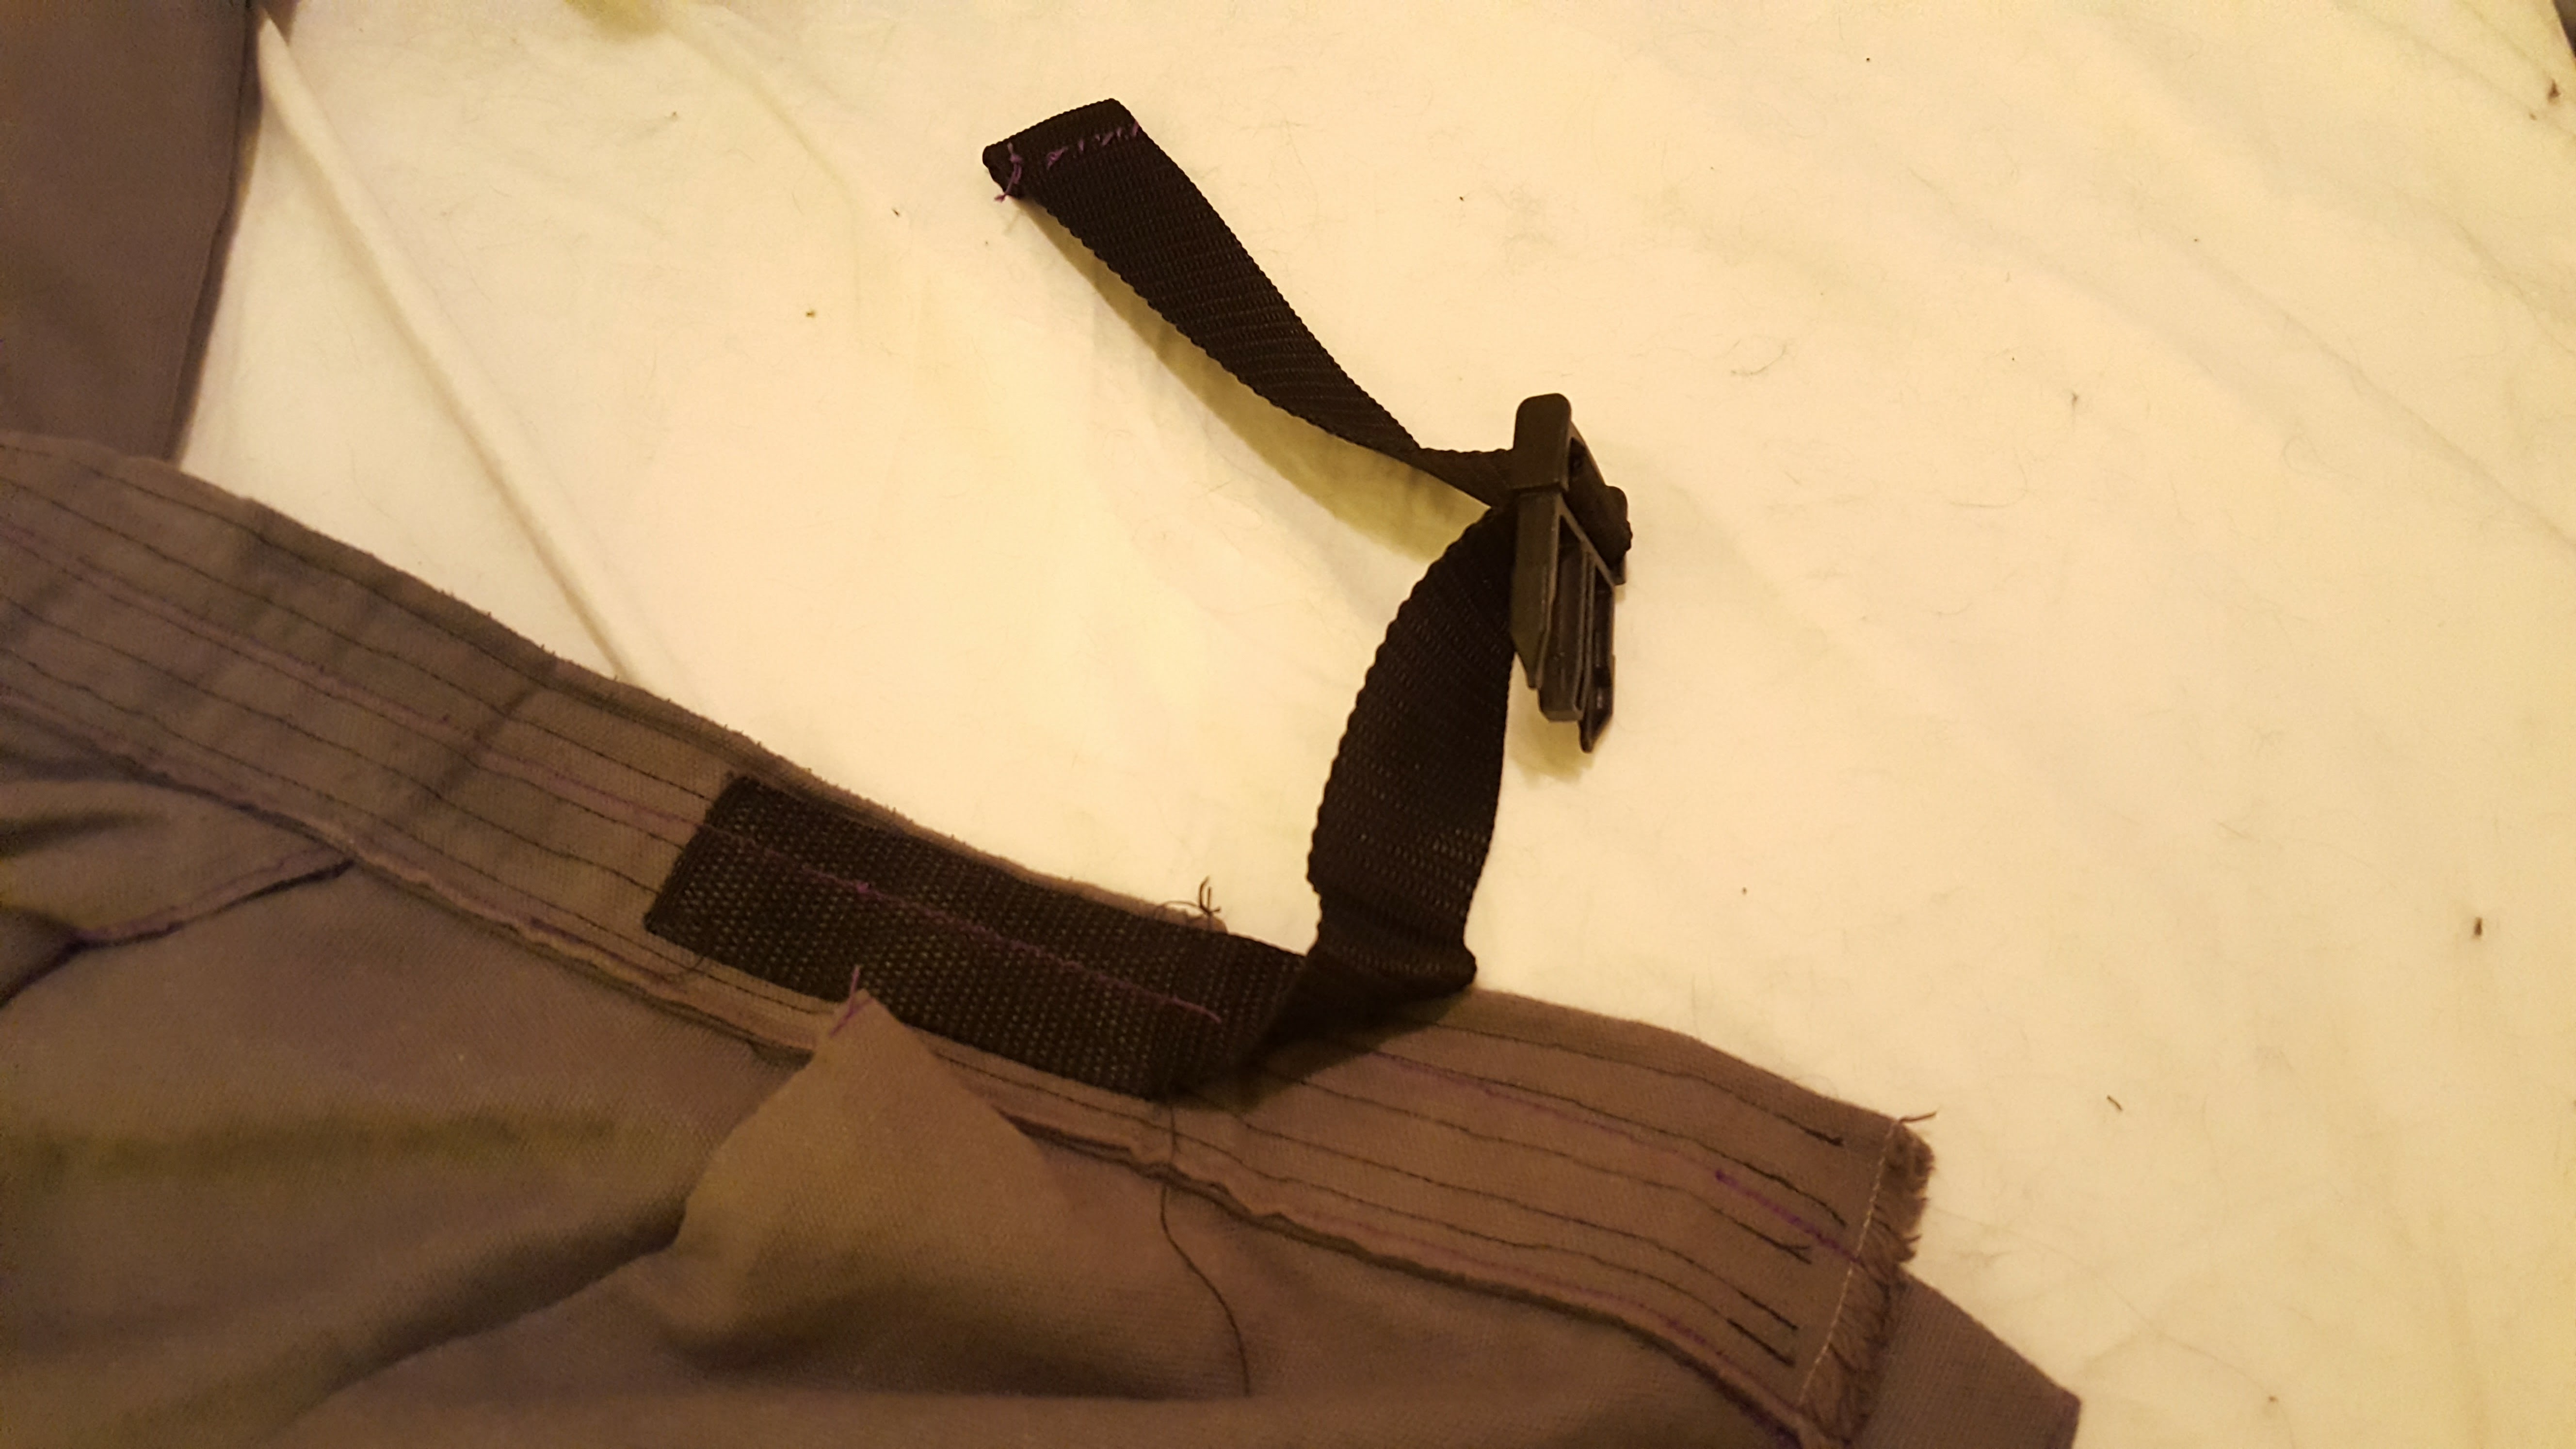
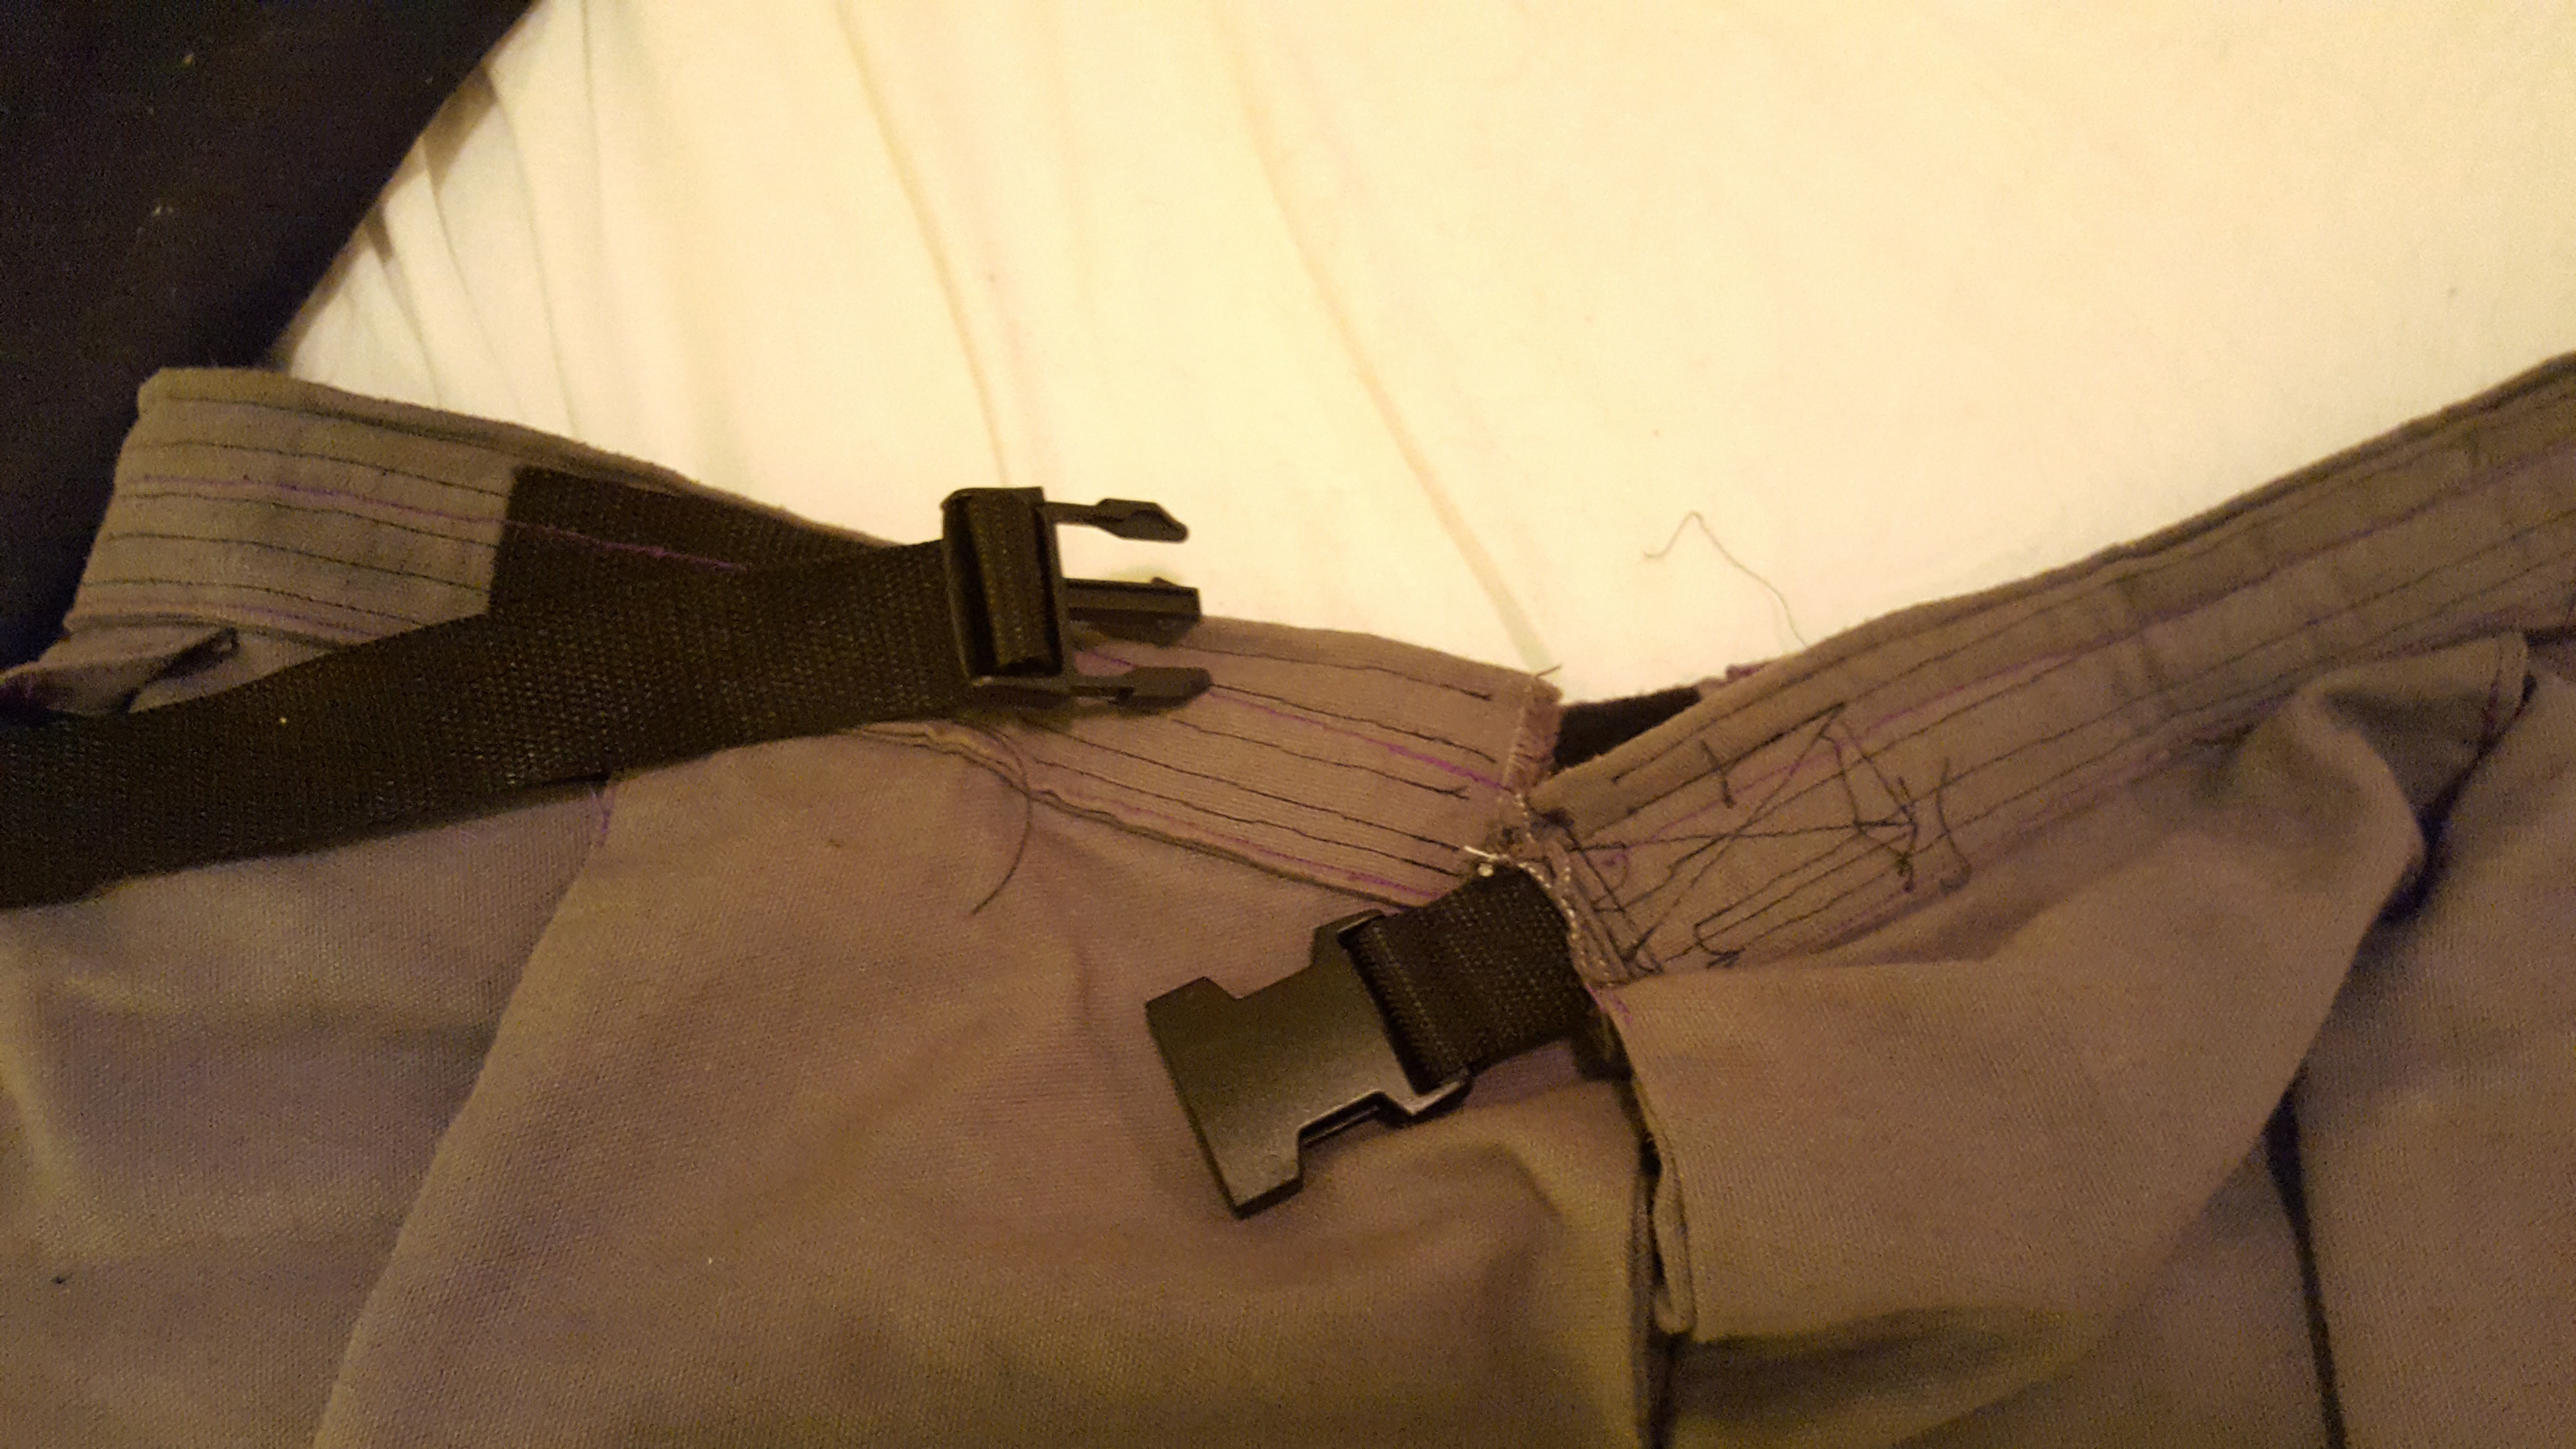
Attaching the plastic buckle
This is where you can fine tune the fit of your skirt. I had a bit more belt length than I needed, to account for the width of my panels and the need to have an odd number, so I attached the male part of the buckle away from the end of the belt. I placed the female end of the buckle close to the end of its side, so this allows the male side of the belt to slide under the female side and still ensures a good fit. Interestingly, I find the skirt works best if I loosen the buckle a little, close it, then tighten it to a snug fit.
It’s important to remember that you have to thread the male part of the plastic buckle with its strap before you sew the strap onto the skirt, and it’s helpful to look at an installed plastic buckle on a store-bought bag or similar, to make sure you thread the strap correctly. (That’s what I had to do, at least.)

Foam rubber padding
I had to do a little trial and error to find what worked best. Because my hips flare out to 56 inches from a 44 inch waist, my rubber padding doesn’t fill the entire fabric panel (the panels ramped off my hips and looked like a goofy tutu when I tried it). You’ll have to do some trial and error, too, to find what works best for you.
I marked the rubber mat with chalk, and cut them with crafting shears (the rubber’s a bit too much for your everyday scissors, unless you have mighty hands). My rubber padding pieces are about an inch narrower than my fabric panel at the bottom and the top. It’s not hard at all to get the rubber into the pocket, either.
Care
Because I chose cotton duck, once I take out the foam rubber padding, I can just chuck the skirt in the washer and not worry about it. You might need to touch it up with an iron if it dries funny, and I recommend not using a dryer and either laying it flat to dry, or hanging it up.
Closing statements
This is not a quick project, but it’s not overwhelming, either. You can do a lot of these things while watching TV or whatnot, or have friends over to chat as you work. It probably took me 20 work-hours total, but that includes trial and error (I installed Velcro closures that I didn’t actually need) and me getting up to speed with using a sewing machine.
This project has given me the confidence to try other things, like custom-made vambraces, or maybe even gauntlet modifications to existing gloves. I’ve got enough fabric, and I have plenty of foam rubber left.